Understanding the Basics of DIY Cinema Screens
Getting Started With Your Home Movie Screen
Embarking on the journey of designing your own DIY cinema screen is an exciting venture for any home theater enthusiast. Understanding the fundamentals of what makes a good projection screen is the first step in crafting an immersive viewing experience that can rival any commercial setup.
The most common materials people use in their DIY projector screens include high-quality screen paint, a white sheet, specific types of fabric, or even specialized screen materials. Each of these has its own advantages and will serve different projector setups and room environments. A step-by-step guide can help you understand the specifics of outdoor versus indoor materials.
Choosing between these mediums requires considering factors like projector compatibility and image quality. For instance, the throw distance of your projector and the room's ambient light will heavily influence your choice of screen material.
In essence, your screen will act as the canvas for your movie projections. Hence, it is crucial to consider the size, aspect ratio, and whether you prefer a fixed frame or a portable setup. Whether you decide on a fixed frame made of PVC pipes or a simple wall projection, the ultimate goal is to enhance the image quality of your projections.
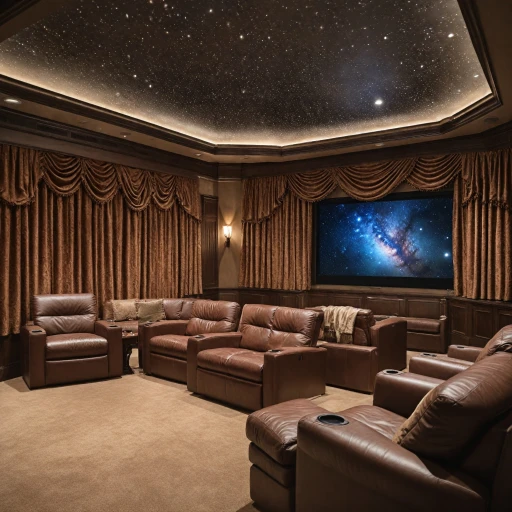
Remember to plan for theater seating and ensure enough space for desired screen size, creating the ultimate home theater experience. By understanding the basics, you set the groundwork for a successful DIY projector screen endeavor.
Choosing the Right Materials for Your Screen
Exploring Different Screen materials for Your DIY Project
When embarking on crafting your own home cinema screen, selecting the right screen material is a crucial step. The material you choose will not only affect the clarity and sharpness of your projector image but also play a role in how smooth your DIY process will be.
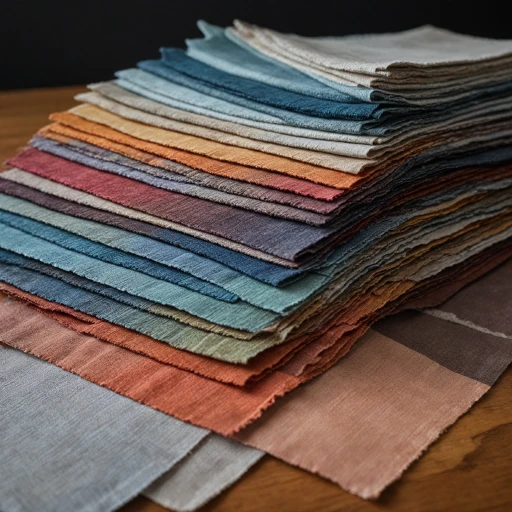
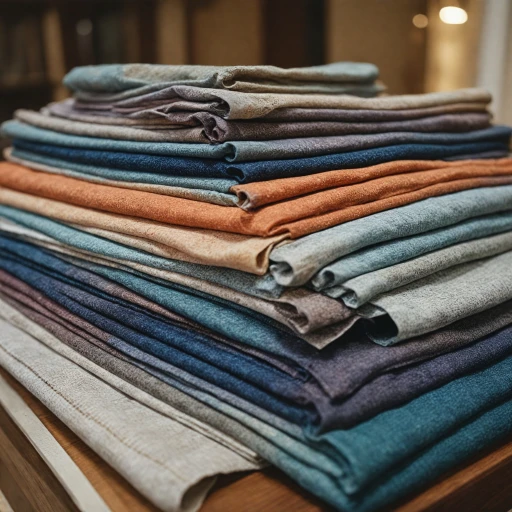
When picking materials, consider if you want a fixed or portable screen. For a fixed frame, rigid materials like specially-coated MDF boards can work well, while a portable screen might use a lightweight, tensioned white sheet or PVC. Using a white sheet is a cost-effective choice, but be mindful of its tendency to wrinkles, which might affect image quality.
Embracing Versatile Materials
Modern solutions for DIY projector screens often incorporate materials like blackout cloth and specific types of screen paint. Blackout cloth, commonly used for curtains, can be ideal as it absorbs extra light, enhancing the image quality. In contrast, specialized screen paint applied to a flat wall can provide a smooth, seamless surface that mirrors professional theater screens.
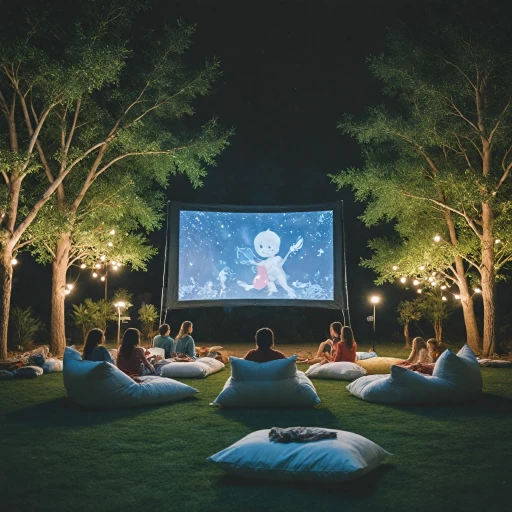
For an outdoor movie setup, durable fabrics or weather-resistant materials such as tarp can provide the resilience you need. Ensure the solution you choose can handle outdoor elements if you plan frequent use.
Refining Your Setup
Once your screen materials are chosen, turn your focus to other essentials like the aspect ratio and screen size. These factors will dictate how you proceed with framing the screen and positioning your projector. Ensure that the materials used support your chosen projection format to avoid any unwanted letterboxing.
Each material choice has its pros and cons. To truly understand the breadth of options and find the perfect fit for your theater space, delve deeper into resources like this guide on screen options.
Projector Compatibility and Screen Setup
Ensuring Your Projector Works With Your Screen
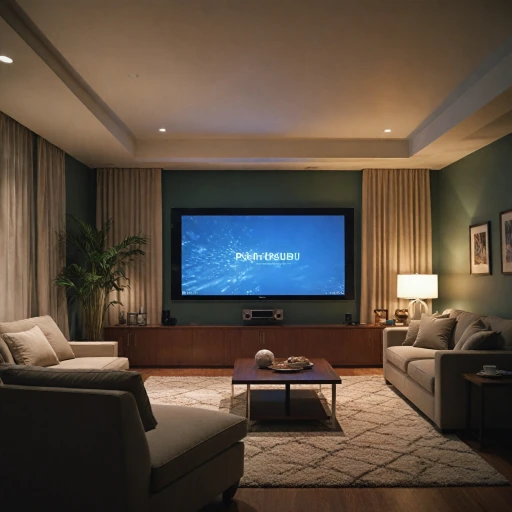
Setting up your DIY projector screen requires careful consideration of the projector's compatibility with the screen materials and overall theater setup. The first step is determining the right projector screen size and aspect ratio that match your projector. Common aspect ratios include 16:9 for home theaters, offering a great movie experience. Confirming your projector's throw distance and lens shift capabilities is essential for the best results.
When deciding on the screen frame placement, it is crucial to measure the available wall or room space, ensuring it accommodates the screen size you are aiming for. For a perfect projection, your screen must be placed perpendicular to the projector's direction to prevent image distortion. If your setup allows, install a fixed frame for consistent alignment.
Material selection for the screen impacts the image quality profoundly. Utilizing a white sheet or specially designed screen paint on a smooth surface can enhance brightness and color accuracy. However, if you are opting for outdoor setups, ensure your outdoor movie screen screen material can handle environmental variations.
Next, take into account the projector's lumens rating. This partly determines how much ambient light your room can sustain while still maintaining a sharp image on your projection screen. For dark rooms, a lower lumens rating projector might be sufficient. For rooms with some light or outdoor movie experiences, a projector with a higher lumens rating would be more suitable to ensure a vivid image.
Maintaining a proper eye level can significantly enhance viewer comfort. Ensure your diy projector screen is leveled with your theater seating arrangements. Adjusting this will not only improve viewing angles but also contribute to a more immersive viewing experience.
With meticulous planning, your DIY cinema screen setup will optimize the image quality, promising a delightful home theater experience. For further enhancements in your home setting, consider visiting this guide on using sound panels to improve acoustics and overall ambiance.
Enhancing Image Quality: Tips and Tricks
Boosting Picture Perfection: Simple Adjustments
Crafting a home cinema involves more than just assembling your materials and putting them together. To truly enhance image quality in your DIY projection setup, consider the following:- Mind the Throw Distance: The throw distance—the space between the projector and the screen—plays a vital role in image clarity. Make sure you calculate an optimal throw distance to avoid a blurry image.
- Opt for Quality Screen Materials: The choice of screen material, whether it's a painted wall or a stretchy white sheet, impacts image quality. Screen paint, available in various shades of grey or white, can improve contrast and brightness.
- Consider the Aspect Ratio: Align your screen's aspect ratio with your projector's settings to avoid distortion. Most commonly, 16:9 suits home theaters best.
Lighting Considerations and Adjustments
Ambient light can significantly affect the viewing experience in your theater room. Use blackout curtains or shades to minimize any light that could wash out the projection. An adjustable dimmer switch can also help create the ideal lighting conditions for movie night.Frame and Tension Tactics
If using a fixed frame for your projector screen, ensure the tension is evenly distributed to avoid ripples. Materials secured with PVC pipes can provide the necessary tension for a smooth projection surface. Ultimately, enhancing image quality involves strategic selection and placement, utilizing available screen materials, and adjusting room lighting. With these efforts, your DIY movie screen can rival those in professional theaters, delivering enriching viewing experiences without a steep investment.Cost-Effective Solutions and Budgeting
Budget-Friendly Solutions to Build Your Movie Screen
Creating your own movie screen doesn't have to break the bank. With some clever choices and a bit of planning, you can build a home theater screen that delivers impressive visuals without a hefty price tag. Start by considering the materials for your screen. A simple white sheet can serve as a decent base with some tweaks. Ensure it’s stretched tightly across a frame made from affordable materials like pvc pipes, which offer flexibility and are easy to work with. Another popular option is using screen paint on a smooth wall, which can be an excellent choice if you want a permanent setup. For those looking to create a portable or temporary screen, consider using blackout cloth or outdoor projector screen materials, which are cost-effective and deliver better image quality than a regular white sheet. Fixed frame screens are also an option but might be pricier. You can save money by sourcing materials from local DIY stores or online marketplaces. When thinking about seating in your theater room, using bean bags or second-hand theater seating can provide comfort without the cost of new furniture.Smart Budgeting Tips
To keep costs manageable:- Plan Ahead: Clearly define what you need, whether it's a fixed frame screen or a versatile solution for outdoor movie nights.
- Research: Look for materials that fit your budget while maintaining quality. Forums and user guides can offer insights into cost-saving materials.
- DIY Approach: Tackle parts of the project yourself, like building frames or applying a paint finish to reduce expenses.
Common Challenges and How to Overcome Them
Resolving Common Setbacks in DIY Screen Projects
Tackling a DIY home theater projector screen may come with its own set of challenges. Here's how you can address some frequent issues and keep your project on track.- Wrinkles and Creases: When using materials like a white sheet or screen paint on a wall, wrinkles can distort the image quality. To prevent this, consider stretching the material tightly over a fixed frame made from PVC pipes. Alternatively, smooth out the wall before applying screen paint.
- Material Selection: Sometimes the chosen material doesn't provide the intended projection results. If image quality is compromised, reassess the screen material or try a different paint. Remember that a higher gain screen might reflect more light, enhancing brightness but potentially narrowing the viewing angle.
- Aspect Ratio Confusion: When setting up your projector and screen, mismatched aspect ratios can lead to unused screen space or distorted images. Familiarize yourself with your projector's aspect ratio settings and match them with the screen size you plan to use.
- Balancing Throw Distance: Ensuring the right throw distance can be tricky, but it's essential for a clear and sharp image. Calculate the required distance for your specific projector model and ensure the room's layout allows for it.
- Room Environment: Surrounding light and room acoustics can affect the theater experience. Minimize ambient light to improve image quality and consider the placement of theater seating to optimize viewing angles.
