Understanding the Basics of Outdoor Projection
Grasping the Fundamentals of Outdoor Movie Nights
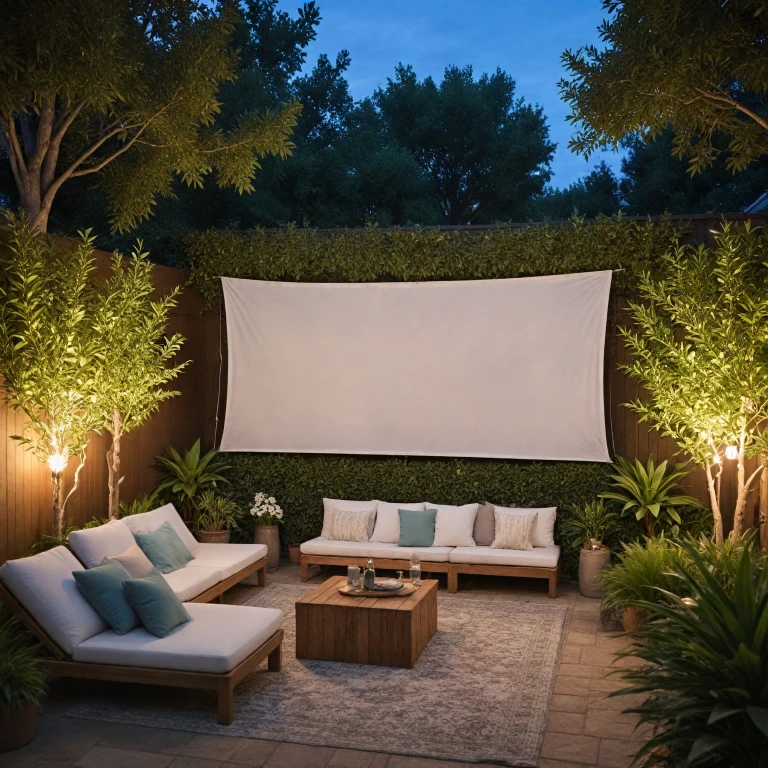
Creating the perfect atmosphere for a backyard movie night starts with understanding the basics of outdoor projection. At its core, an outdoor movie setup revolves around three main components: the projector, the screen, and the audio system. Ensuring these elements harmonize is crucial for a successful cinematic experience under the stars.
First, you need a reliable outdoor projector that's capable of producing clear images in various lighting conditions. Typically, a movie projector with high brightness levels and outdoor adaptability will best serve this purpose.
The projection screen is another key factor. Whether you're using a simple white sheet or a professional-grade screen material, the quality of your screen directly affects the clarity and vibrance of your movie. DIY outdoor setups often favor cost-effective materials like PVC pipe and bungee cords to frame the screen, as these materials are easily adjustable and durable.
Next, consider the audio setup. While you might be tempted to rely on built-in projector speakers, using an external system, such as a Bluetooth speaker, can vastly improve the auditory experience for your audience. A strong emphasis should be placed on selecting audio equipment that can reach everyone, even in expansive backyard settings.
Finally, the overall setup involves thoughtful planning of the location and orientation for optimal viewing. The specifics will also depend on other factors addressed further in this guide, like choosing a site free from obstructions and adapting the frames used to hold your projection screens.
Choosing the Right Location for Your Screen
Finding the Perfect Spot for Your Outdoor Movie Experience
Choosing the right location for your outdoor movie screen is crucial to ensure a seamless viewing experience. A well-chosen spot can transform your backyard into a captivating outdoor theater, perfect for movie nights with family and friends.
When selecting a location, consider the following factors:
- Flat Surface: Ensure the area where you plan to set up your screen is flat and stable. A flat surface will help maintain the integrity of your DIY frame and keep the screen taut, reducing wrinkles or distortions during projection.
- Distance from the Projector: Calculate the optimal distance between your projector and the screen. This distance will depend on your projector's throw ratio and the size of the screen you plan to build. Make sure the projector can fill the screen without losing image quality.
- Ambient Light: Choose a spot with minimal ambient light interference. Streetlights, porch lights, or other sources of light can wash out the image on your screen. An area with natural shade or the ability to control lighting is ideal.
- Weather Considerations: Consider the weather conditions in your area. Wind can be a challenge for outdoor screens, so a sheltered location or the use of bungee cords to secure the screen material to the frame might be necessary.
- Viewing Comfort: Make sure the location allows for comfortable seating arrangements. Whether you use outdoor chairs, bean bags, or picnic blankets, ensure that everyone has a clear view of the screen.
Once you have identified the best location, you can move on to gathering the necessary materials for your DIY outdoor projector screen. For more insights on creating an immersive viewing experience, consider exploring how to transform your space with a large movie screen experience.
Materials Needed for a DIY Outdoor Projector Screen
Gathering the Necessary Materials
Creating a diy outdoor projector screen for your backyard movie nights involves selecting the right materials to ensure the best viewing experience. Here's a list to help you get started:
- Screen Material: For a clear projection, use a white sheet or specialized screen fabric. Some enthusiasts prefer screen materials sourced from elite screens, while others opt for canvas or blackout cloth found in local shops.
- Frame: PVC pipes are often recommended due to their durability and ease of assembly. They are readily available and can withstand outdoor conditions.
- Connector: Pipe connectors to join the PVC pipes and create a sturdy frame for your screen.
- Bungee Cords: These will help stretch and secure your screen material to the frame, ensuring a smooth surface for projection.
- Tools: Consider having a tape measure, scissors or cutting tool, and a screwdriver on hand for assembling the frame and attaching the screen material.
Choosing durable materials is crucial, especially if you plan to keep your screen set up for multiple movie nights under the stars. Quality will impact both the longevity of your setup and the clarity of the projections.
Once you've gathered all your materials, you'll be ready to move on to constructing your outdoor screen. For optimal audio experience during your outdoor movie nights, you might also want to enhance your audio setup with additional equipment like bluetooth speakers, depending on your projector's capabilities.
Step-by-Step Guide to Building Your Screen
Constructing the Frame and Support
Creating a sturdy frame sets the foundation for a high-quality outdoor movie experience. Start by using PVC pipes due to their durability and ease of construction. You can source these materials from local hardware shops or your nearest home improvement store.
- Cut the PVC pipes to your desired screen size. A common size is 120 inches which suits many backyards.
- Connect the pipes using PVC connectors to form a rectangular frame. Ensure all connections are tight and secure to withstand wind.
Attaching the Screen Material
For the screen material, a white sheet works perfectly. This affordable option provides a great surface for projection. Here’s how to attach it:
- Lay the sheet flat on the ground, ensuring there are no wrinkles.
- Fix the sheet to the frame using bungee cords, tightly securing each corner and reinforcing along the edges.
To elevate your setup, consider investing in screen-specific materials from brands like Elite Screens for an improved picture quality.
Supporting and Positioning the Constructed Screen
With your screen material secured, it’s crucial to set up a reliable support system. Use additional PVC pipes or sturdy poles to act as a support brace. Hammer these into the ground to stabilize your movie screen structure.
Position the screen in the chosen outdoor location, as described earlier, ensuring optimal placement for viewing and sound, possibly incorporating a bluetooth speaker for audio clarity during those cherished movie nights.
Final Adjustments and Testing
Once everything is set up, it’s time to test the whole system. Position your projector at the correct projection distance and adjust settings for the best image quality on your newly built screen. Consider using a projector outdoor equipped with good lumens to ensure clear visibility during the night.
By following these steps, your DIY outdoor projector screen will be the centerpiece of memorable backyard movie nights. Let the outdoor theater experience begin!
Setting Up Your Projector and Audio Equipment
Positioning and Aligning Your Outdoor Setup
Once your outdoor movie screen is ready, it's crucial to set up your projector and audio equipment properly. Begin by positioning the projector so that it aligns perfectly with the center of the movie screen. This will help ensure that you achieve the best possible image quality for your outdoor movie experience.Optimal Distance for Clear Projection
The distance between the projector and the screen is essential. Depending on the model, your projector manual usually provides guidelines on the ideal distance and height. Observing these recommended parameters will guarantee a crisp and clear image on your screen.Securing Your Setup
To minimize disruptions, secure the projector with a sturdy stand or table. This supports stability, especially if unexpected wind might be a concern. Additionally, make sure all electronic devices are shielded from potential moisture or night dew during outdoor movie nights.Setting the Audio Perfectly
For immersive sound quality, Bluetooth speakers can offer a seamless audio experience. Position them strategically around your backyard theater to ensure that everyone can enjoy the sound evenly. Ensuring the audio equipment is connected properly with your projector setup is key to a successful outdoor movie night.Adjusting the Picture Settings
Adjust the picture settings on your movie projector to suit the image displayed on your sheet or wall material. Some projectors have special modes optimized for an "outdoor screen" or "night" projection which can enhance clarity and brightness.Test Run Before the Main Event
Conduct a test run of your entire setup before hosting your backyard movie. This can help detect any potential issues with your projector, sound systems or connections. Verifying all aspects beforehand ensures everything is set when it's time to enjoy the show under the stars.Maintenance and Troubleshooting Tips
Keeping Your Outdoor Theater in Top Shape
Maintaining your DIY outdoor projector screen is essential for prolonging its life and ensuring the best viewing experience. Regular checks and simple troubleshooting can prevent the frustration of technical glitches during movie nights.Regular Inspection and Cleaning
- Screen Material Care: Depending on what your movie screen is made of—whether a durable sheet, high-quality PVC, or another material—cleaning and maintenance may vary. Gently wipe the screen with a damp, white cloth to remove dust and stains.
- Frame and Structure Maintenance: Regularly check the integrity of the frame built with PVC pipe or other materials. Ensure bungee cords are securely in place to keep the screen taut and wrinkle-free.
Handling Physical Damages
- Damaged Frame or Sheet: If the frame for your outdoor projector screen suffers damage, replace the broken pipe sections. For small tears in the screen, consider using patches designed for outdoor materials.
- Exposure to Elements: Outdoor gear, including screens and frames, may suffer from weather wear. Always store your equipment in a dry area when not set for a night of entertainment.
Optimizing Projector Setup
- Projector and Audio Calibration: Recalibrate the projector settings, such as brightness and contrast, to suit the outdoor environment. Pair your projector with a reliable Bluetooth speaker to avoid audio lag.
- Ensure Proper Wiring: Double-check all connections between the projector, media player, and audio setup. Keep cords organized and safe from tripping hazards.
Troubleshooting Tips for Common Issues
- Blurry Picture or Colors: If your screen projection appears blurry or the colors are warped, consider adjusting the projector’s focus or repositioning the setup for optimal picture quality.
- Audio Sync Issues: Check your Bluetooth speaker’s connection if the sound isn’t synchronized with the screen. Ensure your audio equipment is set to the correct input.