Understanding the Benefits of a Ceiling-Mounted Projector
Unveiling the Advantages of Ceiling-Mounted Projectors
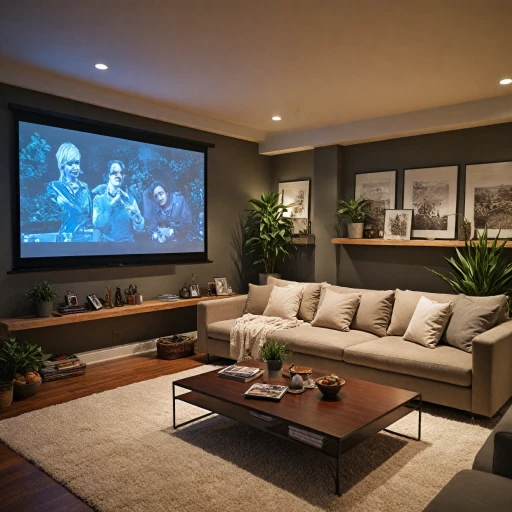
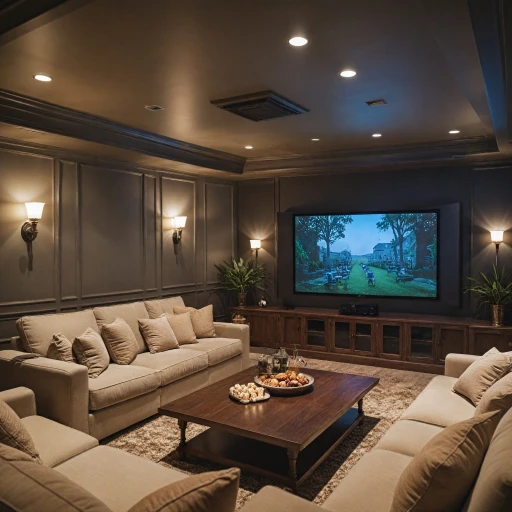
Investing in a ceiling-mounted projector can transform your home theater setup, providing a plethora of benefits that traditional TV setups might lack. By installing a projector in this manner, your viewing experience can reach cinematic heights.
- Space Optimization: A ceiling-mounted projector frees up precious floor or shelf space, allowing for a cleaner and less cluttered entertainment area. This setup integrates seamlessly into your room's design, keeping technology out of direct sight while still delivering stunning image quality.
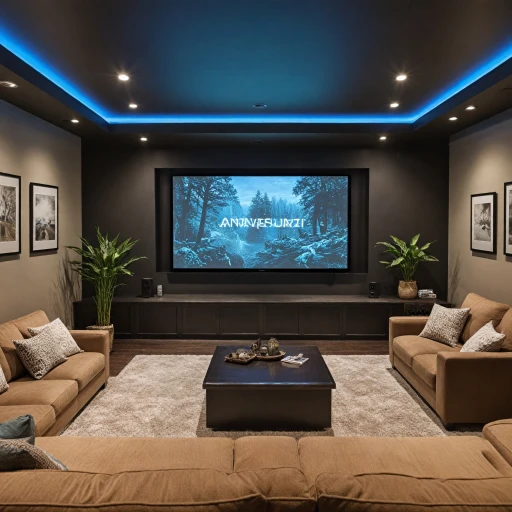
- Enhanced Viewing Experience: Projectors, especially those with advanced features like short throw and ultra short throw, offer superior image size flexibility compared to traditional displays. Projecting onto a matte white or high gain projector screen further enhances image clarity, even in rooms with ambient light.
- Versatile Screen Size Configurations: Unlike flat screen TVs that offer limited screen size options, ceiling-mounted projectors can adjust the image dimensions up to several hundreds of inches. This flexibility lets you tailor the screen size to your space, making every movie night an immersive experience.
- Improved image alignment: A mounted projector allows precise control over throw distance and screen height, leading to perfectly aligned images. This improved setup reduces the distortion and keystoning that can occur with portable units.
- Modern Connectivity: Many ceiling-mounted projectors support wifi and bluetooth connectivity, enabling easy streaming from various devices without the clutter of cables.
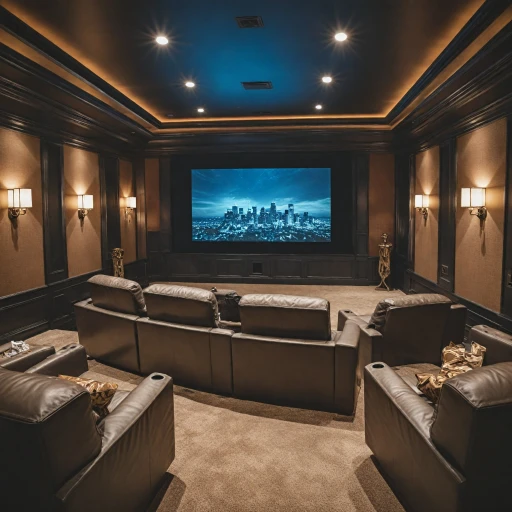
- Cost-Effective Large Screen Option: Considering the price of large televisions, projectors offer a more economical option for achieving a large screen display. With an initial investment in a quality projector and mounting equipment, you can enjoy a sizable screen without breaking the bank.
Before diving into installation, it's important to weigh these benefits against the potential challenges, such as initial setup difficulty and room configuration considerations. For more insight on elevating your viewing experience, explore our comprehensive guide on enhance your viewing experience.
Key Considerations Before Installation
Essential Factors to Consider Before Installing Your Projector
When planning to install a ceiling-mounted projector, there are several critical elements to keep in mind to ensure a smooth and successful setup. From considering the space and budget to understanding technical specifications, these factors will guide you towards making the right decision.- Room Dimensions and Layout: The size and shape of your room determine the appropriate screen size and seating arrangement. Remember, the projector's throw distance is vital; a short throw projector might be perfect for smaller spaces.
- Screen Type and Size: Consider the screen gain, which affects brightness. A matte white screen can offer a balanced image. Think about the ideal screen height and maximum screen size that fits your room.
- Budget Considerations: Prices can vary significantly. While portable projectors are affordable, more advanced models come at a premium. Balance the price with your desired image quality, screen, and additional features like wifi bluetooth connectivity.
- Projector Specs: Familiarize yourself with specs like lumen count for brightness and the input options available. Ensure the projector supports the desired resolution, whether 1080p or 4K, for excellent image quality.
- Mounting Location and Equipment: Choose a stable ceiling mount that suits your projector's weight and design. Ensure your ceiling can support the mount projector, considering any necessary adjustments for optimal image positioning.
- Ambient Light Control: Controlling ambient light is crucial for maintaining image clarity. Darker rooms are better suited for projectors, but if your space is bright, ensure your projector has high brightness levels or consider additional light-blocking solutions.
Choosing the Right Mounting Equipment
Selecting the Ideal Equipment for Ceiling Mounting
When planning to install a ceiling projector, the choice of mounting equipment is crucial for achieving optimal image quality and ensuring the durability of the installation. A well-selected mount can enhance your home theater experience by providing stability and allowing you to enjoy crystal-clear visuals.- Ceiling Mount Compatibility: Ensure the mount is compatible with your specific projector model. Some mounts are designed to accommodate a variety of projectors, but it’s essential to check the specifications. A universal mount can be an adaptable option if you plan to upgrade your projector in the future.
- Weight Capacity: Confirm that the mount can support the weight of your projector. The last thing you want is for an insufficiently supported projector to cause damage to your ceiling or projector.
- Adjustability: Look for a mount that offers adjustability in tilt, rotation, and swivel to perfectly align the projector with your screen. This will help in optimizing the image size and quality, which is covered in further detail in another part of this plan.
- Mounting Location and Throw Distance: Calculate the throw distance based on your room size and screen size. Ensure the mount can be installed at the right distance from the screen to achieve the desired image size. Short throw and ultra short throw projectors require less distance, which might influence your mounting decisions.
- Price vs. Quality: While cost is an important factor, it should not compromise the quality of the mounting equipment. Investing in a robust and reliable product may have a higher initial price, but it can prevent additional costs associated with damage or instability.
- Extras and Compatibility: If you're integrating advanced systems like wifi bluetooth projectors, make sure the mount doesn't obstruct signal delivery. Verify that your mounting setup allows for potential feature enhancements without interference.
Step-by-Step Installation Guide
Gathering the Necessary Tools and Materials
Before diving into the installation process, ensure you have all the required tools and materials. This includes a drill, screws, a stud finder, and a level. Depending on your ceiling type, you may also need anchors. Your ceiling mount product should come with specific instructions and necessary hardware, but it's always good to double-check.
Determining the Ideal Placement
The placement of your ceiling-mounted projector is crucial for optimal image quality. Consider the throw distance and screen size to determine the best spot. A short throw projector requires less distance, while an ultra short throw projector can be positioned even closer to the screen. Make sure the projector aligns with the center of the screen to avoid image distortion.
Installing the Ceiling Mount
Once you’ve identified the perfect spot, use the stud finder to locate ceiling joists. This ensures your mount is securely attached. Mark the spots where you’ll drill holes, and use the level to ensure everything is straight. Attach the ceiling mount to the ceiling using the appropriate screws and anchors. Make sure it's firmly secured before proceeding.
Attaching the Projector
With the mount in place, you can now attach the projector. Follow the manufacturer's instructions for mounting the projector to the bracket. Ensure all screws are tightened properly to prevent any wobbling. Adjust the projector’s angle and position to align with your projector screen. A matte white screen can enhance image clarity, especially in rooms with ambient light.
Connecting and Testing
After the projector is mounted, connect it to your media sources. If your projector supports wifi bluetooth, this can simplify the setup process. Test the image quality and adjust the focus, zoom, and keystone settings as needed. Ensure the screen height is appropriate for comfortable viewing.
Final Adjustments
Once everything is set up, make any final adjustments to the projector’s settings to optimize image quality. Check for any potential obstructions that could affect the image or sound. Regular maintenance and troubleshooting can help keep your setup running smoothly for years to come.
Optimizing Image Quality and Sound
Optimizing Picture and Sound for Your Mounted Projector
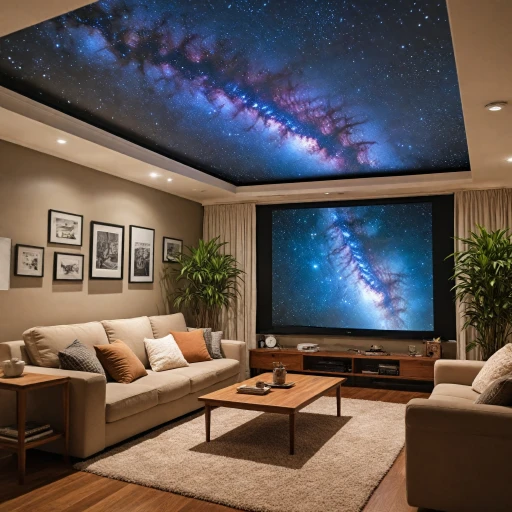
To truly enjoy your ceiling mounted ultra short throw projector, fine-tuning both image quality and sound is essential. Proper optimization ensures the ultimate theater-like experience in the comfort of your home. Consider the following tips to make the most of your new setup:- Screen Selection: Opt for a matte white projector screen with a gain of 1.0 for optimal image brightness and clarity. A carefully selected screen can significantly enhance the viewing experience.
- Ambient Light Control: Ideas to mitigate ambient light include using blackout curtains or shades in your viewing room. This helps maintain the vividness of colors projected onto the screen.
- Screen Size and Throw Distance: Ensure that your ceiling mount projector is correctly aligned with the chosen screen size. The throw distance should be suitable for the capabilities of your projector, ensuring images fill the screen without distortion.
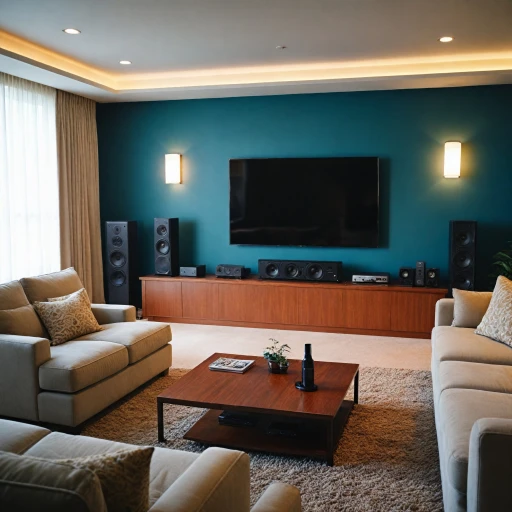
- Audio Setup: While projectors usually come with basic speakers, investing in a dedicated sound system can considerably improve audio quality. This will provide more immersive sound for your movies and games.
- Image Calibration: Take the time to adjust settings like brightness, contrast, color, and sharpness according to the best viewing conditions in your room. Ensuring these settings align with the products’ specifications can make a world of difference.
- Placement and Mount Adjustments: Recheck the alignment of your projector's mount. Ensuring it’s perfectly horizontal can prevent keystone distortion, which often hampers the image quality.
Maintenance and Troubleshooting Tips
Maintaining Peak Performance and Resolving Common Issues
Regular care and attention to your ceiling-mounted projector can ensure its longevity and optimal performance. Addressing technical issues promptly can also preserve image quality and ensure a seamless viewing experience.- Regular Dust and Debris Cleaning: Dust build-up can affect the projector’s performance and cause overheating. Periodically clean the air filters and external casing. Use a soft, lint-free cloth to gently wipe away dust from the projector lens.
- Projector Lamp Replacement: Keep an eye on the number of hours your projector lamp has been used. A general rule is to replace it when it reaches about 50% of its promised lifespan, to maintain brightness and image quality.
- Handling Image Quality Issues: If you notice distortion or blurring, adjust the projector’s lenses and focus settings. Ensure the projector screen is clean and the ambient light in the room is minimized to enhance clarity.
- Troubleshooting Audio Problems: Verify all cable connections, especially if your setup involves multiple audio output sources. For a wireless setup, ensure the wifi Bluetooth is working correctly and there's no interference.
- Maintaining Screen and Mounting Stability: Regularly check the sturdiness of the ceiling mount and tighten any loose screws. This prevents the projector from unwanted movement which could affect screen alignment.
- Software and Firmware Updates: If your projector model supports software updates, regularly check the manufacturer’s website for any new releases that might enhance performance or fix bugs.
- Professional Maintenance Services: For complex issues beyond basic troubleshooting, consider consulting professional services to avoid any further damage to your product.