Understanding the Benefits of a Ceiling-Mounted Projector
Why Consider Ceiling-Mounted Projectors?
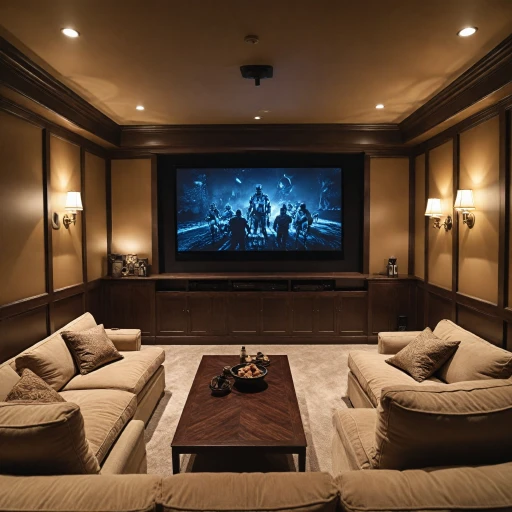
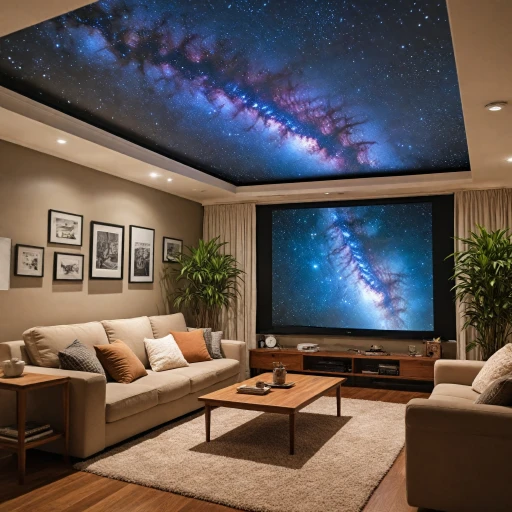
Are you looking to elevate your home theater experience? Opting for a ceiling-mounted projector can be a game-changer. Unlike traditional table mounts, ceiling-mounted projectors provide numerous advantages that can transform your viewing activities.
First, ceiling mounts save valuable floor space, offering a sleek and organized setup. This arrangement means you don't have to worry about tripping over components or rearranging furniture to fit a bulky table. A universal mount allows for a neat and efficient installation, compatible with various projector models.
Another key advantage is the optimized viewing angles. With proper installation and mounting, you can achieve an optimal throw distance, ensuring crisp and clear images on your projector screen. A short throw model can be particularly advantageous in smaller rooms, reducing the distance between the projector and the screen.
Ceiling mounts also allow for better management of cables, reducing clutter with discreet channels for power and signal cables. This is crucial for maintaining a tidy appearance and avoiding distractions during your movie nights. Pair your projector with a ceiling-mounted screen for a truly professional setup.
Additionally, many modern projectors come equipped with smart features like Wi-Fi and Bluetooth connectivity. This eliminates the need for extensive cabling and lets you easily connect to streaming devices, enhancing your overall home theater experience. With the right setup, you avoid the hassle of tangled wires and unnecessary complexity.
While ceiling mounting offers numerous benefits, be mindful of potential challenges. Careful planning can address issues such as accurate alignment and compatibility with your chosen model. Refer to the benefits of a ceiling-mounted screen to complete your immersive setup.
Choosing the Right Projector for Ceiling Mounting
Factors to Consider When Selecting Your Ceiling-Mounted Projector
Choosing the right projector for your home theater not only impacts the picture quality but also how seamlessly it integrates with your ceiling mount setup. When it comes to choosing the right projector for ceiling mounting, there are several critical factors to take into account:
- Throw Distance: Consider whether a standard or short throw projector is suitable for your room size. Short throw projectors are ideal when space is limited, reducing the gap between the projector and the screen.
- Projection Screen Compatibility: Your projector should match well with the type of screen you are using. Whether it's a mounted projector screen or a pull-down one, ensure the projector's resolution and screen size fit your space.
- Mount Compatibility: Opt for a universal mount that accommodates different projector models and offers flexibility. Check the projector mount’s model number and ensure it supports your projector’s weight and size.
- Projection Frame: The frame of the projection area must complement your room. Choose a frame color, such as mount white or mount black, that fits your decor while enhancing blackout for better viewing.
- Cable Management: A clean, organized setup with hidden cables adds to the aesthetic appeal of your home theater. Consider using a cable management system for neat installation.
- Connectivity Options: Look for projectors that come with wifi and bluetooth capabilities, as they offer versatile streaming and connectivity solutions without the hassle of extended cable runs.
- Price Range: Your budget plays an essential role in your decision. While higher-end projectors offer advanced features, several mid-range projectors offer excellent performance for the price.
Understanding these elements will guide you towards an informed purchase decision, ensuring that your ceiling-mounted projector enhances your home theater experience.
Installation Tips for Ceiling-Mounted Projectors
Installation Process Simplified
When it comes to installing a ceiling-mounted projector, the process may seem daunting at first. With the right approach and tools, however, it becomes much more manageable, offering a streamlined way to elevate your viewing experience. Here’s a concise guide to help simplify your project.1. Selecting the Appropriate Ceiling Mount:
Choosing the correct ceiling mounts involves considerations of compatibility with your projector model. A universal mount provides flexibility, accommodating various projectors. If aesthetics matter, decide between a mount white or a mount black to match your room's decor.
2. Perfect Spot for Mounting:
Identify the appropriate location on the ceiling for mounting. This requires taking into account factors like throw distance, screen size, and room layout. A short throw projector, for instance, can be positioned closer to the screen. Ensure there's structural support in the ceiling to safely hold the mount.
3. Wiring and Cable Management:
Integrating cable management systems helps maintain a tidy setup. Cables can be routed through the ceiling or using discrete conduits to preserve the room's aesthetics. Remember, wiring should be planned in advance to accommodate additional features like a WiFi Bluetooth connection or additional theater components.
4. Step-by-Step Installation:
Refer to your model’s installation manual for detailed instructions. Generally, the installation begins with securing the ceiling mount and attaching the projector using quick release mechanisms or secure mounting screws. Take heed of weight limits specified for mounts.
5. Testing and Adjustment:
Once the projector is ceiling mounted, fine-tuning is crucial. Adjust the roll swivel capabilities to align the projection with your screen frame accurately. After adjusting, test the image for clarity and focus, making necessary tweaks to ensure impeccable visuals. A built-in speaker can further enhance the audio experience, complementing the setup.
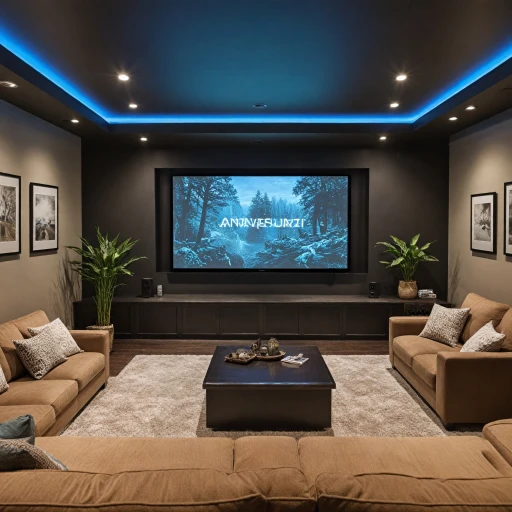
Installing your projector on the ceiling can transform your viewing experience, providing a cinematic feel within the comfort of your home. This arrangement not only elevates your home theater aesthetics but also optimizes space, ensuring an uncluttered environment perfect for movie nights.
Addressing Common Challenges in Ceiling-Mounted Projector Setup
Overcoming Common Setup Issues
Setting up a ceiling-mounted projector can sometimes present challenges. However, with some preparation and insight, you can tackle these issues effectively.
- Improper Alignment: Ensure the projector is properly aligned with the screen. Use a universal mount that allows for adjustments like roll swivel to fine-tune the positioning.
- Ceiling Compatibility: Check if your ceiling can handle the weight and type of the mount. Ceiling mounts come in different variations like mount white or mount black; choosing the right one will depend on the style and ceiling type.
- Cable Management: Efficient cable management is key for a clean setup. Consider using cable management systems to avoid clutter and ensure safety.
Addressing Mounting Concerns
When dealing with projector mounts, it’s critical to consider the projector’s throw ratio and the mount’s compatibility:
- Throw Distance: Identify if the projector is a short throw or requires a specific distance. This will affect where you position the mount on your ceiling.
- Mount Selection: Choose a universal mount that matches the projector’s model number. Certain mounts offer features like quick release or adjustable height, which can simplify installation.
Technical Adjustments and Setup
If your ceiling mounted projector comes with advanced features like wifi or Bluetooth connectivity, ensure these are properly set up according to the installation manual. Pay attention to the series and model number to ensure compatibility with the devices you plan to connect.
Lastly, make sure you maintain clear documentation. Keep the installation manual handy and consider noting down the customer support email for future reference. If you encounter persistent issues, don’t hesitate to reach out for professional assistance.
Maintenance and Care for Ceiling-Mounted Projectors
Maintaining Your Projector's Peak Performance
The charm of a ceiling-mounted projector lies in its ability to deliver stunning visuals consistently. To uphold this performance, regular maintenance and care are essential. By integrating a routine maintenance schedule, you can ensure that your projector continues to offer an unparalleled viewing experience.
Dusting and Cleaning
Projectors are vulnerable to dust buildup, particularly when mounted on the ceiling. To mitigate this, clean the projector's exterior using a microfiber cloth to avoid scratches. Additionally, the lens is crucial to image clarity. Gently clean it with an appropriate lens cleaner to prevent any hazy visuals. Avoid using harsh chemicals that might damage the lens.
Regular Filter Checks
Your projector's air filter works tirelessly to prevent dust from penetrating its internal components. Check the filter periodically and clean or replace it as necessary. A clogged filter can lead to overheating and diminished performance. The frequency of checks might vary based on your projector model number and usage environment, so refer to your installation manual for specific guidelines.
Monitor Lamp Life
Most projectors come with a lamp life indicator. It's wise to keep an eye on this to prevent untimely projector malfunctions. As lamps approach their end of life, they tend to dim, affecting image quality. Replacing the lamp as per the project's recommendations will safeguard your viewing experience.
Proper Cable Management
During the initial installation, you might have set up comprehensive cable management, which is vital for a tidy setup and smooth operation. Check periodically to ensure all cables are secure and free from wear. A well-managed cable setup reduces strain on the connections, contributing to the longevity of both your projector and the ceiling mount.
Firmware Updates
Projectors often receive firmware updates that can enhance functionality or fix bugs. Stay updated with your model by either consulting the manufacturer's website or contacting support via email. Always follow the manual's guidance when applying updates to prevent any mishaps.
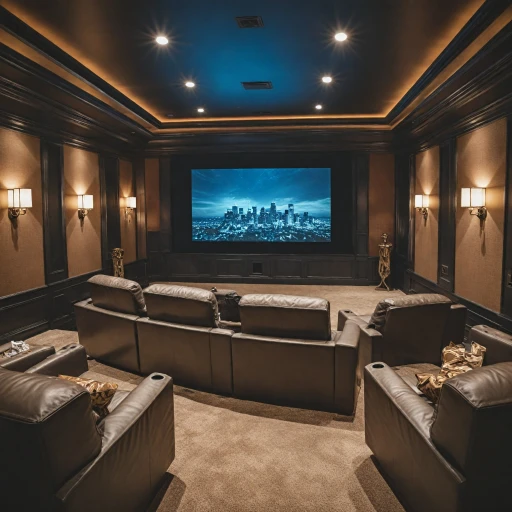
By conscientiously observing these maintenance tips, your ceiling-mounted projector will continue to provide a remarkable cinematic experience, acting as a pillar for your home theater setup.
Enhancing Your Home Theater Experience with Accessories
Boosting Your Setup with Additional Gear
Enhancing your home theater experience doesn't stop at just the projector and screen. There are several accessories that can take your viewing to the next level. Consider the following to complement your ceiling-mounted projectors:
- Cable Management: Streamline your setup with effective cable management solutions. Opt for cable covers or channels that match your decor whether you choose mount white or mount black.
- Universal Mounts: To ensure your setup is adaptable, invest in a universal mount. They typically support a wide range of projector model numbers, making future upgrades easier.
- Quick Release Mechanisms: These are perfect for those who need to access the projector frequently or for maintenance. They allow easy dismounting without fuss.
- Screen Enhancements: Pair your mounted projector with a quality screen. Look for options that fit your space and complements your installation. Many screens offer improved contrast and color accuracy, enhancing your overall viewing experience.
- Sound System Additions: Don’t underestimate the power of good audio. Pairing your mounted projector with a robust sound system can significantly improve your viewing experience.
- Connectivity Options: Upgrade to a wifi bluetooth projector to eliminate extra cables and make connectivity seamless.
Investing in these enhancements alongside your projector ceiling mounts not only boosts the viewing experience but also improves the aesthetic and functionality of your home theater setup. Strategically integrating these elements ensures you get the best out of your designated cinema space.