Understanding the Benefits of Ceiling-Mounted Projector Screens
The Advantages of Ceiling-Mounted Projector Screens
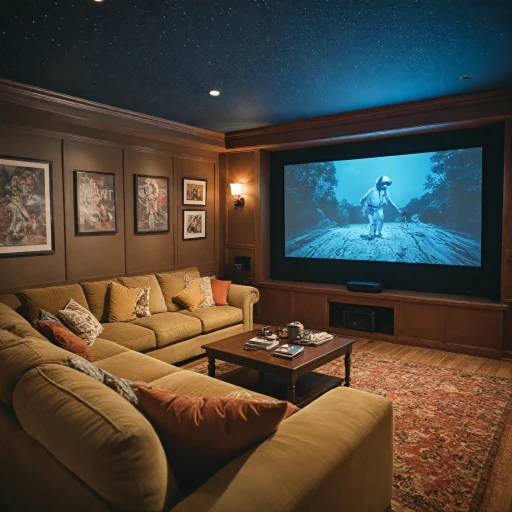
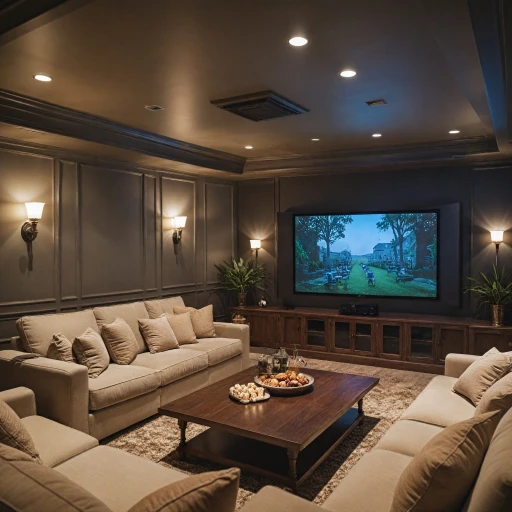
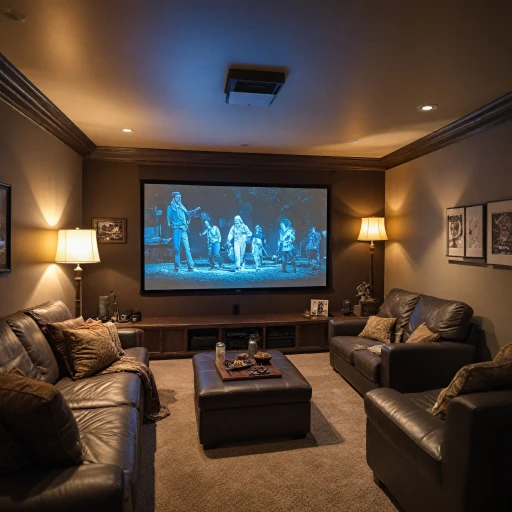
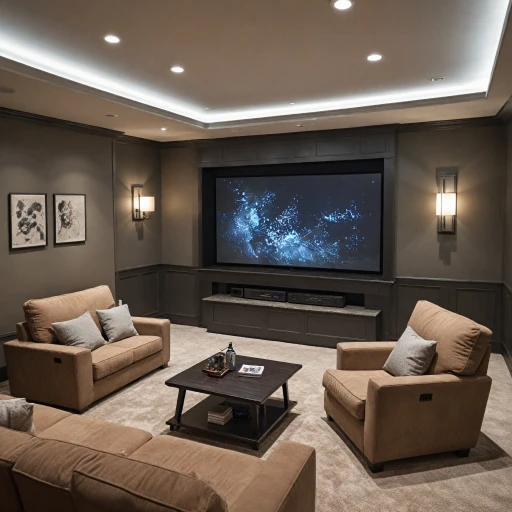
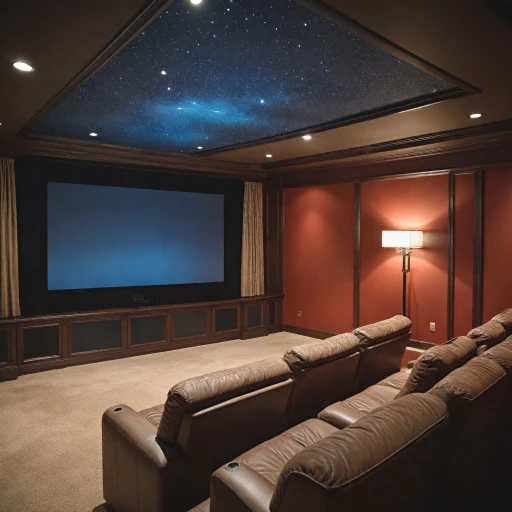
When designing a top-notch home theater system, a ceiling-mounted projector screen can significantly elevate your viewing experience. Not only does a ceiling mount save space, but it also offers enhanced viewing flexibility and can be seamlessly integrated into various home setups. Mounting your projector screen on the ceiling allows you to maximize your wall space, leaving more room for decor or other equipment. It also ensures that your screen is always in the perfect position for video projection, reducing the need for adjustments before every viewing. The surface of the screen plays a crucial role in the overall quality of the image. Choosing a high-quality projection screen surface, such as matt white, can greatly enhance the color accuracy and clarity of your video. Additionally, motorized projector screens offer the convenience of remote control, allowing you to discreetly hide the screen when not in use. Roll-down screens are available in various sizes, from portable screens to those over 100 inches. When deciding on the right size for your setup, consider the size of your room and the distance from which you’ll be viewing the screen. A larger screen tends to offer a more cinematic experience but requires enough space to ensure a clear image. Ceiling-mounted screens can be paired with various projectors, from HD and 4K projectors to short-throw models. It’s important to match your projector with a screen that complements its resolution and the room's ambient light conditions for optimal viewing. Incorporating a ceiling-mounted screen into your home can not only enhance your overall viewing experience but also keep the focus on the screen surface rather than the equipment itself. Choosing the right product based on your needs and budget can turn your home theater into an immersive environment. For further details on integrating ceiling-mounted screens into your setup, check out this guide on how to improve your home theater with a ceiling-mounted projector.Choosing the Right Projector Screen for Your Space
Finding the Best Fit for Your Home Theater
With numerous options in today’s market, selecting the right projector screen for your home theater can be quite overwhelming. Whether you are considering a motorized projector screen for ease of use or a fixed frame screen for its sleek design, understanding your needs will guide you to the right choice.
Ceiling-mounted projector screens come in various types, each with distinct features. When choosing your screen, it’s crucial to consider the following factors to maximize your projection experience:
- Screen Size: The size of your screen should be proportional to the viewing distance. Opt for an inch projector screen that complements your room size, providing an immersive video experience.
- Screen Surface: Investing in a matt white surface can enhance your viewing with brighter and sharper images, perfect for HDTV matt displays.
- Mounting Location: Assess whether a wall ceiling or strictly ceiling-mounted option suits your space. This decision can affect your room’s aesthetics and how the screen integrates with existing decor.
- Viewing Angle: Consider a screen that offers a wide viewing angle so everyone in the room can enjoy the projection equally.
- Motorized vs. Manual: Motorized screens, often pricier, bring convenience and a certain elegance. If you regularly adjust your screen, this option might be worth the additional price.
- Additional Features: Explore brands such as Elite Screens, Draper, or Draper Luma for tab tensioned options that avoid screen wrinkles, offering a smoother viewing surface.
Budget is a significant aspect to consider. While quality screens can come at a premium, sales and price comparisons between trusted brands can help you find a screen within your budget without compromising on quality. For more on investing in the right equipment, check out our guide on enhancing your home theater setup with the right tools.
Installation Tips for Ceiling-Mounted Projector Screens
Installation Techniques for a Ceiling-Mounted Screen
When it comes to setting up your home theater, installing a ceiling-mounted projector screen correctly can be the difference between an average and an outstanding movie experience. Here's a step-by-step guide to help you get it right.Preparation and Planning
Before diving into the installation, thoroughly assess your room layout. Make sure the ceiling location is optimal for screen visibility from all viewing angles. Account for elements like furniture placement and the distance to your projector, as these will affect the overall projection quality.Screen Measurement and Positioning
- Determine the size of the screen you need by calculating the optimal viewing distance. For instance, an 100-inch projector screen is often ideal for mid-sized rooms.
- Choose a screen surface that complements your projector, whether matte white for vivid colors or a grey surface for better contrast in brighter rooms.
- Ensure you have enough space on your ceiling or wall ceiling bracket to mount the screen safely and securely.
Ceiling Mount Installation
- Bracket Placement: Use a stud finder to locate ceiling joists, ensuring the mount is secured into a solid structure. This step is crucial for supporting the screen's weight.
- Drilling and Bolting: Drill the necessary holes and use heavy-duty bolts to fix the mounts. Check if your product comes with the required screws; otherwise, purchase appropriate fasteners.
- Screen Attachment: Whether installing a fixed frame or a motorized projector screen, follow the specific manufacturer's instructions for attaching the screen securely.
Fine-Tuning and Testing
Once the installation is complete, unroll the screen and power on your projector. Adjust the projection angle and convergence for the best picture quality. Test various video content to ensure the entire screen is utilized effectively. A short throw projector might reduce the need for extensive calibrations, but always tailor settings to suit your view. For more in-depth insights on optimizing your setup, you can read about choosing the right cinema screen fabric for your home theater, ensuring a seamless visual experience. Proper installation not only enhances your viewing experience but also extends the lifespan of the screen, providing you with the ultimate home theater satisfaction.Integrating Your Projector Screen with Home Automation
Seamless Integration with Home Automation Systems
Integrating your ceiling-mounted projection screen with home automation can significantly enhance your home theater's convenience and functionality. By connecting your screen to a smart home system, such as those offered by several tech giants, you can effortlessly control your viewing experience with a few simple taps or voice commands. To integrate your projector screen with a home automation system, consider the following steps:- Ensure Compatibility: Not all projector screens are designed for smart integration. Look for screens that are compatible with home automation hubs. Motorized projector screens usually offer this capability.
- Using Smart Devices: Consider using a smart wall switch or a remote control app that connects with your home automation system. This will allow you to lower or retract your screen remotely, providing convenience and flexibility.
- Programming Routines: Program your home automation system to perform multiple actions at once. For optimal viewing, you might sync the lowering of your draper luma screen with the dimming of your lights and the start of your projector.
Maintenance and Care for Long-Lasting Use
Keeping Your Projection Screen in Pristine Condition
To ensure the longevity of your projector screen and maintain the quality of your viewing experience, regular maintenance and care are crucial. A well-maintained projection screen can significantly enhance your home theater setup by providing a consistently clear and vibrant picture.
- Cleaning the Screen Surface: Gently dust the surface with a soft cloth or use a vacuum cleaner with a brush attachment to remove loose dirt. For stains or fingerprints, use a damp cloth with a mild, non-abrasive cleaning solution. Avoid using harsh chemicals or rough scrubbing as it can damage the screen.
- Regular Inspection: Monthly checks for any wear and tear, especially around the edges and mounting points, can prevent long-term damage. Pay attention to signs of peeling or fading, particularly if you have a matt white or motorized projector screen.
- Secure Mounting: Ensure that your ceiling mounted screen is securely fastened and check periodically for any loosened parts on the mount. This includes the mount points for draper luma and other similar models.
- Calibration: Keep your projector calibrated for optimal picture quality. This ensures that any adjustments to image settings after cleaning offer the best quality possible.
- Protection from External Elements: If your screen is near a window or door, consider using blinds or curtains to block direct sunlight, which may cause discoloration over time. A motorized or tab tensioned screen can provide better control over exposure when not in use.
For a diverse selection of projector screens, keeping tabs on ‘sale price’ and investing in quality brands like elite screens or price draper options can offer value long-term and assure high-quality projection results.
Cost Considerations and Budgeting for Your Home Theater
Budgeting for Your Home Theater Setup
When planning to enhance your home theater experience with a ceiling-mounted projector screen, understanding the cost implications is crucial. The price of projector screens varies significantly based on factors such as size, material, and additional features. Here's a breakdown to help you budget effectively:
- Screen Type: Fixed frame screens and motorized projector screens have different price points. Motorized options, such as the Elite Screens and Draper Luma, typically cost more due to their convenience and advanced features.
- Material and Surface: The screen surface can affect the price. For instance, a matt white projection screen may be more affordable than specialized surfaces designed for short throw projectors or ambient light rejection.
- Size and Aspect Ratio: Larger screens, like those over 100 inches, naturally come with a higher price tag. Consider your wall or ceiling space to determine the optimal screen size.
- Additional Features: Features such as tab tensioning ensure a smooth viewing surface but can increase costs. Evaluate if these are necessary for your setup.
Considering the Long-Term Investment
While the initial purchase price is important, think about the long-term investment. A high-quality projection screen can enhance your viewing experience and increase the lifespan of your projector. Regular maintenance, as discussed in earlier sections, will also help prolong the life of your investment.
Exploring Sales and Discounts
Keep an eye out for sales and discounts, which can significantly reduce the cost of high-end screens. Retailers often offer competitive sale prices, especially during holiday seasons or clearance events. Comparing prices from different suppliers can also help you find the best deal.
By considering these factors, you can make an informed decision that balances quality with budget, ensuring a satisfying home theater experience.