Understanding the Importance of a Riser Platform
Why Your Home Theater Needs a Riser Platform
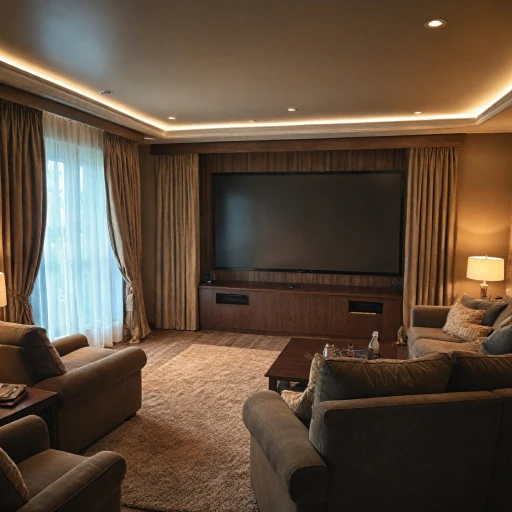
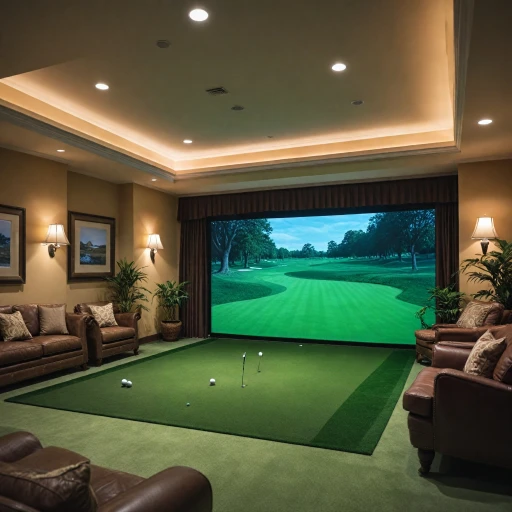
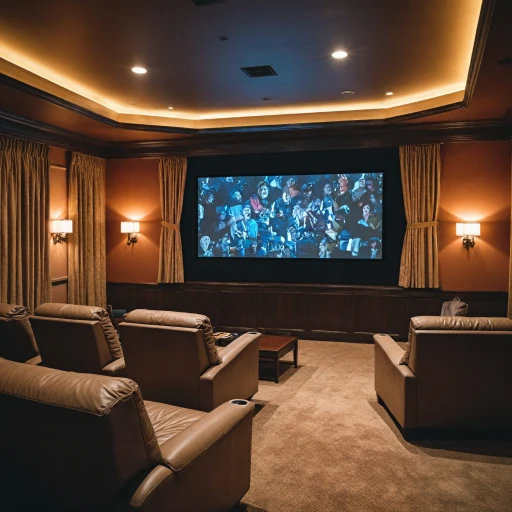
Creating the perfect home theater setup isn't just about the screen size or the sound system. There's one component that can really transform your viewing experience—enter the riser platform. You might be thinking, "Why would I need that extra step?" Well, picture this: every seat gets a front-row viewing experience, thanks to a smart little bump in your theater room. Riser platforms come with a whole host of benefits:- Uninterrupted Viewing: Nobody likes craning their neck or asking someone to move. Elevate the back rows, and everyone gets an unobstructed view of the monitor, guaranteed.
- Sound Optimization: It's not just about height; it's about how the sound travels. A well-placed riser can enhance acoustics so that sounds flow over and around instead of bouncing awkwardly.
- Impressive Aesthetics: Let's face it—layered seating gives off a professional cinema vibe that a flat room just can't achieve. Not to mention it's pretty cool to say you've got your own mini stage setup!
- Home Theater Seating Guide
- The Art of Home Acoustics
- DIY Home Theater Riser Guide
Choosing the Right Riser Platform for Your Space
Finding the Perfect Fit: Picking the Right Height for Your Riser
Understanding Space Dynamics
Gauge your space carefully before jumping into the building or buying phase. Is your home theater snug or spacious? A smaller room may require a portable, modular platform that can be easily stored after use. Check for furniture risers or height adjustable platforms when space is scarce. When stage risers are too bulky for the setting, you might just opt for a couple of riser blocks under each seat's legs. It temporarily lifts furniture and gets the function you're looking for without occupying the entire room—a little home theater hack, you might say!Playing Around with Riser Types
In terms of setup versatility, portable stage options like drum risers, choral risers, or even heavy-duty staging parts can come handy, particularly for movable displays. Look at options with storage carts or height variability—that's when they come into their own. Besides, considering the accessories, truss can help you get stuff like pipe drape for that professional theater feel. Think of practicalities like storage, shipping estimates, available brands, and price before placing an order. Remember, a little bit of research can open windows to the best products available. For a more reliable purchase, check online marketplaces and forums in the United States, where user reviews and top-rated feedback can guide your buying decision. Familiar resources such as those offer trustworthy advice directly from other user's past experiences. Sources:- Sound & Vision: Offering practical guides and reviews on home theater designs.
- Home Theater Magazine: A comprehensive source for DIY and professional setups.
- AV Forums: Community-driven advice for home entertainment enhancements.
DIY vs. Pre-made Riser Platforms
DIY or Pre-made: What's Right for You?
The DIY Route: Personal Touch and Customization
Building your own riser platform lets you customize it to your exact specifications. Want a specific height or need to fit it into a quirky space? DIY is your ticket. You can use materials like wood or metal trusses to create something that fits your style and budget. Plus, there's a certain satisfaction in saying, "I built that!" However, going DIY means you'll need the right tools and a bit of know-how. You'll need items like a saw, drill, and perhaps some heavy-duty screws. But don't worry, part 4 of this series will guide you through the materials and tools needed.Pre-made Platforms: Convenience and Professional Finish
If you prefer something ready to go, pre-made riser platforms are your best bet. These come in various sizes and styles, from portable stages to height-adjustable platforms. Brands like StageRight and Wenger offer top-rated products that are built to last. They often include features like storage carts and accessories truss, making them a convenient choice. The downside? Pre-made platforms can be pricier than DIY. But if you're short on time or DIY skills, the convenience and professional finish might be worth the extra bucks.Considerations for Your Decision
- Budget: DIY is often cheaper but requires time and tools. Pre-made is quicker but can be more expensive.
- Skill Level: If you're handy, DIY could be fun. If not, pre-made saves you the hassle.
- Space Requirements: Custom spaces might need a DIY approach, while standard spaces can easily fit pre-made options.
- Time: DIY takes time for planning and building, while pre-made is a quick setup.
Materials and Tools Needed for a DIY Riser Platform
Gather Your Materials
Building a riser platform for your home theater can be a rewarding project. First, you'll need to gather the right materials and tools. Think of your riser as a mini stage, providing that perfect elevation for an enhanced viewing experience. Here's a list to get you started:
- Wood: Plywood or MDF is often used for the platform surface. Choose a thickness of at least 3/4 inch for stability.
- Framing Lumber: 2x4s or 2x6s for the frame and support structure.
- Screws and Nails: Heavy-duty screws and nails to secure the frame and surface.
- Carpet or Rug: To cover the platform for a finished look and sound absorption.
- Paint or Stain: If you prefer a wood finish, choose a good quality paint or stain.
- Insulation: Optional, but can help with soundproofing.
- Pipe Drape or Fabric: For aesthetic purposes or to hide the underside of the riser.
- Tools: Drill, saw, measuring tape, and level.
Consider the Accessories
Once you've got the basics, think about additional accessories that can enhance your riser platform. A monitor stand or a portable stage setup can provide flexibility if you plan to rearrange your space. If you're into music, drum risers or choral risers can add a professional touch to your setup.
For those who love tech, incorporating a monitor riser or a computer monitor stand can help organize your gadgets. Look for brands that offer heavy-duty options for durability. Accessories truss and storage carts can also be handy for managing cables and equipment.
Budgeting and Planning
Before you start building, consider your budget. Prices can vary based on the size and materials of your riser. Check shipping estimates if you're ordering parts online. In the United States, many stores offer competitive prices on materials and tools. If you're thrifty, you might find some top-rated products on sale.
Remember, a well-planned riser platform not only improves your home theater experience but can also add value to your space. Whether you're a DIY enthusiast or prefer pre-made solutions, the right platform can make all the difference.
Sources: Home Theater Review, AVS Forum, DIY Network
Step-by-Step Guide to Building a Riser Platform
Building Your Riser Platform Step-by-Step
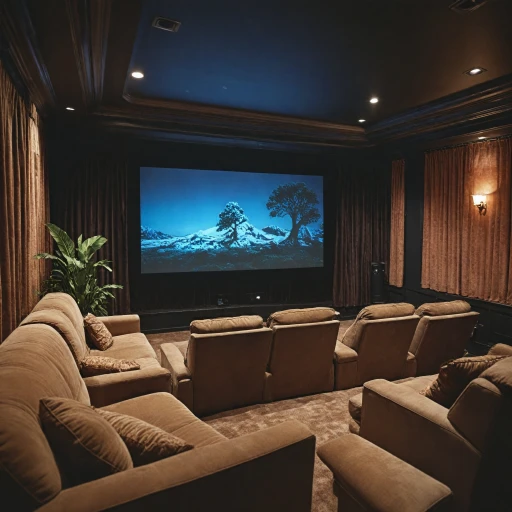
So, you're ready to jump in and build your very own riser platform. Great choice! Doing it yourself can offer a sense of accomplishment and a custom fit for your home theater setup. Let's break down the process, making it easy and straightforward. First thing first, gather all your tools and materials. Essential items include plywood, screws, a drill, and a saw. A tape measure will ensure precision, while a level will keep things straight. Consider getting some heavy-duty brackets for extra support. Start by measuring the area where you want the riser to go. Precision is key here to make sure everything fits perfectly without crowding the space. Remember, it’s like crafting a piece of furniture — it requires attention to detail. Cut your plywood to your specific needs — this might be the base, sides, or top pieces of your riser. Assemble the sides first, creating a frame on which the platform will stand. You want the structure to be sturdy, able to support multiple choral risers, drum risers, or even a monitor riser if needed later. Once your frame is set, attach the top of the riser using screws, making sure everything lines up. Don’t rush! Once attached, give it a little shake to test its sturdiness. You want it to withstand the test of time and many movie nights. Adding a finishing touch, like carpet, will not only improve the aesthetics but also reduce noise. This could be especially useful if you’re dealing with a large portable stage setup or heavy-duty equipment. Securely staple the carpet down, ensuring that there are no tripping hazards. Check the height. Is it right for your screen visibility? It’s not too late to make adjustments, and you want it to be just perfect for your cinematic experience. Don’t forget about storage. If you need extra room for cables or accessories like pipe drape and table parts, a hollow section at the base can offer a clever cue for storage. Lastly, make sure everything has a smooth finish. Sand down any rough edges, and you’re ready to bring in your staging gear. Your meticulously crafted riser, now the stage of your home theater, will certainly open a window to endless hours of entertainment. For more insights on risers, you might consider checking reviews or recommendations on top-rated brands that offer pre-made options, which might come in handy for comparison with your new DIY project. Happy building!Optimizing Your Home Theater Setup with a Riser Platform
Perfecting Your Setup with a Riser Platform
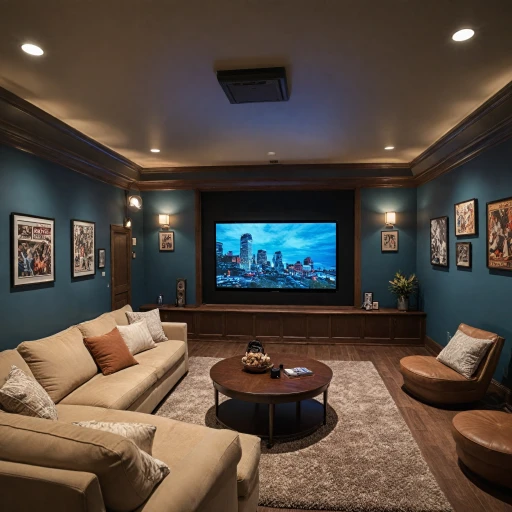
Once you've established the right riser platform for your home theater setup, it's time to make the most of it. Adding a riser platform can transform your movie nights by elevating your viewing experience to new heights—literally! With the essentials in place, let's ensure your overall setup leaves your friends and family saying "wow."One of the main advantages of using a riser platform is that it improves sightlines. This is especially useful if your space accommodates multiple rows of seating. Consider your seating arrangement and adjust your riser to make sure everyone gets the VIP view. Remember, the right height matters—sometimes just an extra inch or two makes all the difference in comfort and viewing clarity.
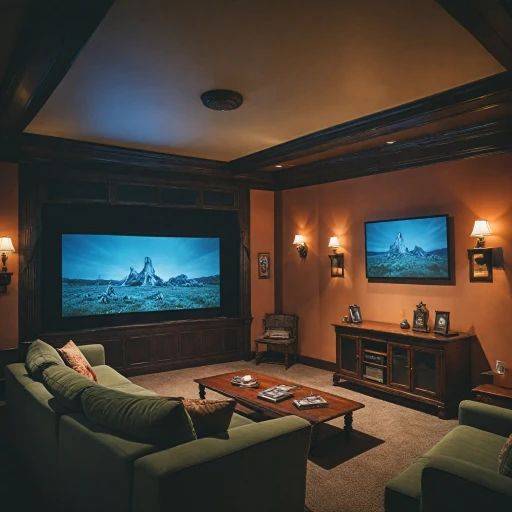
Think of your riser platform as more than just a step-up for seats—it can be a multitasking wonder. Adding accessories like monitor stands or portable stages can introduce flexibility and function to your space, perfect for everything from gaming to karaoke nights. Height adjustable options are great here, allowing changes based on the situation or audience.
Incorporating storage carts can keep your area clutter-free, making space for trusses, pipe drapes, or even your prized drum risers, all tucked away when not in use. Platforms with built-in storage or the compatibility for storage accessories can have you organized in no time. It's efficiency paired with elegance.
And let’s not forget audio. Positioning your speakers strategically is just as vital as positioning your screen. Placing speakers on furniture risers or stands enhances sound quality, creating an immersive environment. Choral risers, or heavy duty stand risers offer additional support that could be perfect for larger equipment or monitor displays.
When balancing accessories truss and parts accessories, remember that a few quality pieces can outperform a room filled with less reliable items. Whether you're sourcing products from trusted brands known in the United States or globally recognized names with top rated reviews—making informed choices saves both time and money in the long run.
Don't overlook the importance of crowd control if you plan to host larger gatherings. Strategically placing your riser platform can help with seating arrangements and contribute to a seamless flow of your entertainment space.
In summary, the right riser platform can seamlessly integrate functionality, style, and performance into your home theater setup. With some planning and smart product selections, you're all set to host the ultimate movie night, game marathon, or concert-like viewing experience. And who knows? You might just be the envy of your neighborhood.
For precise installation steps, building tips, or expert insights on risers, check other parts of this series for guidance that fits your skill level and budget.