Understanding Rear Projection Technology
Exploring the Mechanics of Rear Projection
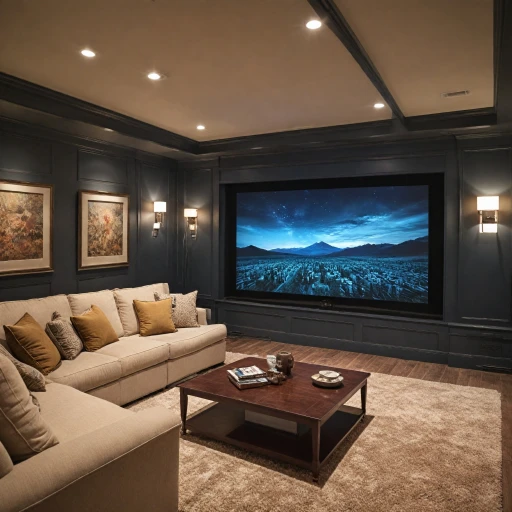
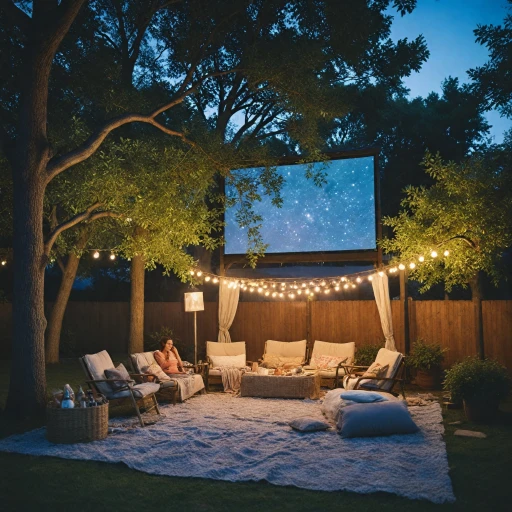
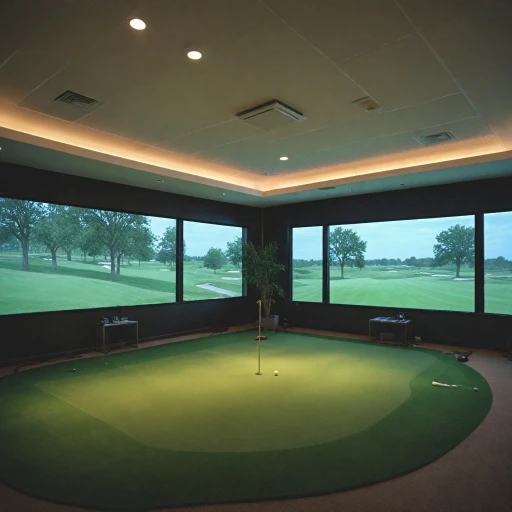
Delving into the realm of rear projection brings to light a fascinating technology increasingly prevalent in home theater setups. This method involves projecting images from behind the screen, allowing for an uninterrupted display. Unlike front projection systems requiring careful placement to avoid obstructing the image, a rear projector operates with the light source shielded from the audience's view. When examining rear projection, it's important to consider the various types of projector screens available. Elite screens, for instance, offer products tailored for rear projection, promising high gain and brightness levels essential for vivid viewing. The deployment of these screens, be it fixed frame or portable tripod variants, can dictate the overall experience. Factors such as throw distance are particularly crucial. Short throw projectors can be positioned closer to the screen, reducing the space required. This is especially beneficial for compact spaces where maximizing area without compromising image quality is paramount. Setups with a rear projection often have to take into account the ambient light within the room. The advantage here is the reduction in glare, which front projection systems are prone to. It's pivotal to select the right type and gain of screen that complements your projection environment. For those eyeing an outdoor setting, like a yard master setup, rear projection offers a solution for unobstructed views during gatherings. As you navigate through the number of available options, consider both the ultimate budget and the manufacturer's reputation when checking items on your list. Interested in how this setup could enhance your movie nights? You might want to explore perfect popcorn tub for ultimate enjoyment, complementing your enhanced projection experience with just the right crunchy touch.Choosing the Right Projector for Rear Projection
Factors to Consider When Selecting Your Device
In the realm of rear projection, the choice of a projector is pivotal. The right projector plays a crucial role in bringing to life the vivid detail and cinematic experience you crave at home. Given the multitude of projectors available in the market, understanding what features and specifications align with your needs can be daunting.
- Projection Type: Evaluate whether a short throw or ultra-short throw projector suits your space. These projectors can display large images even when placed close to the screen, making them ideal for compact apartments or rooms.
- Resolution and Image Quality: Aim for projectors offering at least 1080p resolution, although 4K projectors provide exceptional video clarity. Check compatibility with your existing media and video files.
- Brightness and Gain: A projector with high lumens is essential for clarity in environments with ambient light. Consider the gain of the projector screen—elite screens usually offer balanced gain levels, providing superior brightness and contrast.
- Portability Versus Permanence: Decide if you require a portable projector or a fixed installation. If you plan on using your system both indoors and outdoors, models like the Yard Master can be advantageous.
- Aspect Ratio and Screen Size: Choose a projector catering to your desired screen dimension and aspect ratio. Most projectors project images on screens 100 inch or larger.
Manufacturers and Features to Prioritize
Reputable manufacturers often offer better support, delivery options, and comprehensive warranties. When evaluating options, prioritize projectors with easy setup instructions, compatibility with various indoor and outdoor screens, and support for modern connections like HDMI and USB-C.
For those considering a rear projection setup, specific projector models are designed for this purpose, efficiently avoiding issues like image distortion or misalignment. By selecting products that are frame-compliant with your screen choice, you’ll ensure a smooth visual experience.
For further considerations on enhancing your home theater setup, an excellent resource can be found here.
Setting Up a Rear Projection System
Key Steps to Complete Your Rear Projection Setup
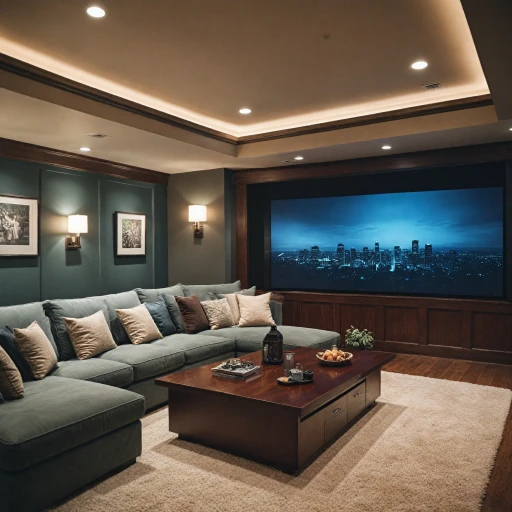
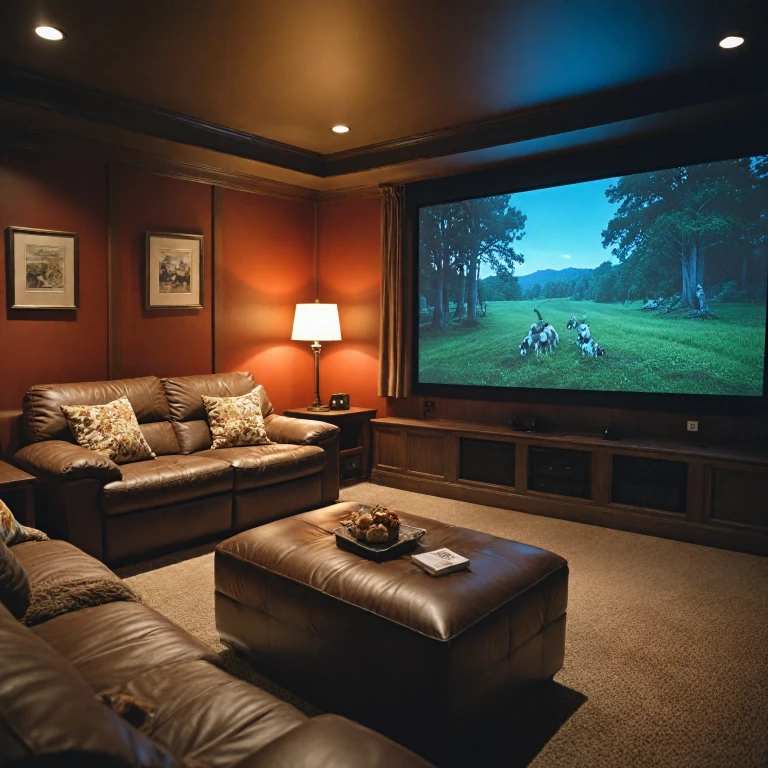
Setting up a rear projection system can transform your viewing experience into something truly immersive. Here are the critical steps and considerations to ensure you get the most out of your projector:- Choosing the Right Screen: Before diving into setup, it's crucial to select an appropriate projector screen. Factors like screen gain, screen size, and manufacturer options like elite screens or yard master models play a decisive role. For a detailed analysis, check out this 100-inch screen projector guide.
- Positioning Your Projector: Deciding whether you want an ultra short throw or a regular throw projector affects placement. Short throw projectors can be closer to the screen, facilitating setups in smaller rooms, while longer throws may require more space but offer different placements for ambient light scenarios.
- Matching the Frame with Projector Specs: Ensuring that your screen's frame complements your chosen projector's specifications is vital. Consider if you need screens fixed, tripod projector stands, or perhaps an outdoor projector setup if you plan movie nights under the stars.
- Integration with Video Delivery Systems: Your projector should seamlessly integrate with your video delivery systems for uninterrupted viewing. Projectors equipped with multiple input options provide flexibility for various content sources.
- Installing Projection Screens: Rear projection screens need proper alignment for optimal image quality. Make sure the screen is free from wrinkles and securely attached to avoid distortions during projection.
- Adjusting for Best Image Quality: To finalize the setup, calibrate your projector for the best image quality. Adjust settings based on the ambient light and distance to get the perfect clarity and contrast.
Optimizing Image Quality in Rear Projection
Optimizing Picture Clarity and Vividness
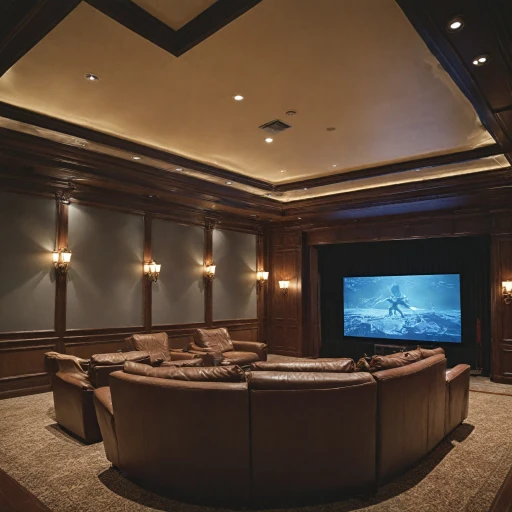
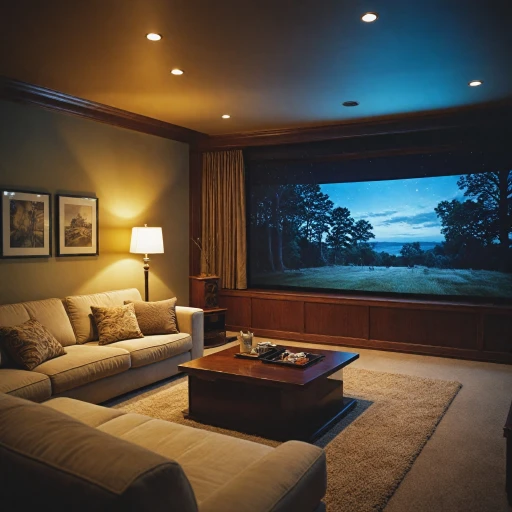
Optimizing image quality in a rear projection setup involves a combination of choosing the right screen type, placement, and adjusting settings. The goal is to achieve a crystal-clear, vibrant picture that enhances the viewing experience.
- Selecting the Right Screen: When optimizing for rear projection, choose screens that are suited for the rear projection method. This often includes high gain or specialized rear projection screens, which deliver more brightness and maintain color fidelity. Elite Screens offers various products made specifically for this type of setup.
- Screen Placement: Proper placement is crucial. Ensure the screen's frame is sturdy and positioned securely for minimum movement. The projector and screen should be equidistantly aligned to prevent keystone distortion. Whether you're aiming for a large screen setup or a portable projector use, consider a tripod projector screen for flexibility.
- Adjusting the Projector: Front and rear projectors often have throw projectors with adjustable throw distances. Short throw and ultra short throw options work well in limited spaces, allowing for large projections from a closer range. Adjust the focus and zoom to suit your projection areas.
- Ambience Control: Control ambient light for the best viewing. Outdoors, consider using outdoor projector screens like the Yard Master series. Indoors, reduce ambient light to minimize reflections and preserve contrast.
- Manufacturer's Settings: Refer to the manufacturer's settings recommendations for your specific projector and screen combination. These settings can significantly influence image clarity and color balance.
While the type of screen and projector are the primary components, factors like ambient lighting and correct setup play crucial roles in overall image quality. With careful adjustments and appropriate equipment, your home theater rear projection can achieve exceptional viewing results.
Cost Considerations and Budgeting
Assessing Your Financial Plan
When delving into the world of rear projection systems, understanding the cost implications is vital to making informed decisions. Here are some aspects to consider:- Projector Costs: Prices vary significantly based on the type and capability of projectors. Ultra short throw projectors may carry a higher price tag due to enhanced technology, while portable projectors might offer more affordability.
- Screen Options: Your choice of projector screens can influence the cost. Fixed screens and elite screens typically present a higher investment when compared to portable options like a tripod projector screen or an indoor outdoor screen.
- Frame and Structure: Consider whether you need a screen complete with a frame or just the projection screen itself. Some screens are designed for easy delivery and setup, which may affect product pricing.
- Accessories and Additional Purchases: Items like ambient light rejecting screens, yard master outdoor screens, or enhanced gain video projectors may enhance your system but should be factored into your budget.
- Installation and Labor: Don't forget to include costs for setting up your rear projection system and video delivery. Depending on the complexity, you might require professional installation to ensure optimal performance.
Troubleshooting Common Issues
Resolving Issues in Rear Projection Systems
When optimizing your rear projection setup, it's crucial to anticipate and solve any potential issues that may arise. Owning a quality projector and screen is just part of the puzzle. Here’s a guide to troubleshooting common problems effectively:- Image Quality Problems: If your projector’s image appears blurry or distorted, it could be due to an improperly focused lens or misalignment in positioning. Ensure the projector is square with the screen and the throw distance is suitable for your specific model.
- Ghosting and Resolution: Ghosting on a rear projector screen can occur if ambient light intrudes on the projection area. Consider an elite screens product with higher gain to combat this or experiment with different screen materials to find one that best suits your room’s lighting conditions.
- Adjusting and Testing: When first setting up, it's vital to test the projection under various lighting conditions, including day and nighttime, to assure the image is consistently sharp. The Yard Master series is ideal for outdoor setups but ensure it's calibrated for indoor use if applicable.
- Dealing with Color Balance: Sometimes the manufacturer presets don’t deliver the best video output for all environments. Adjusting the projector's settings can enhance color balance, especially in mixed lighting environments.
- Handling Hardware Malfunctions: If your product encounters technical glitches, reference the model's manual or contact customer delivery services for troubleshooting steps. Many manual fixes include straightforward adjustments like recalibrating or updating firmware.