Understanding the Benefits of a Ceiling-Mounted Projector Screen
Maximizing Your Viewing Experience
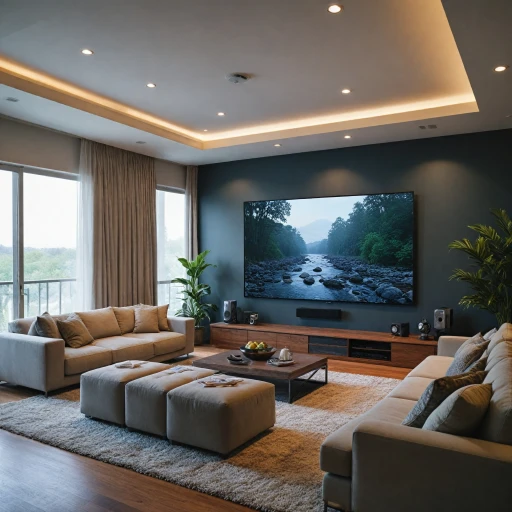
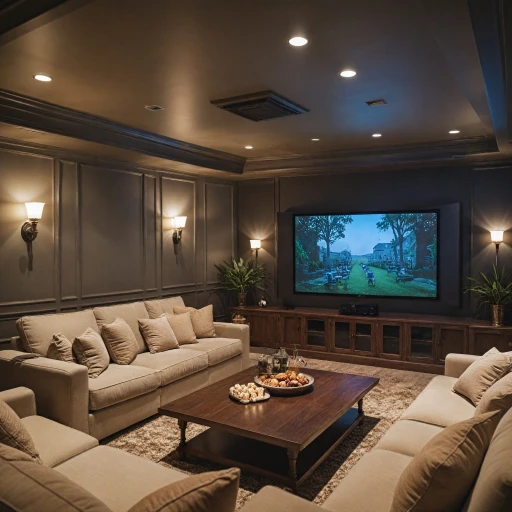
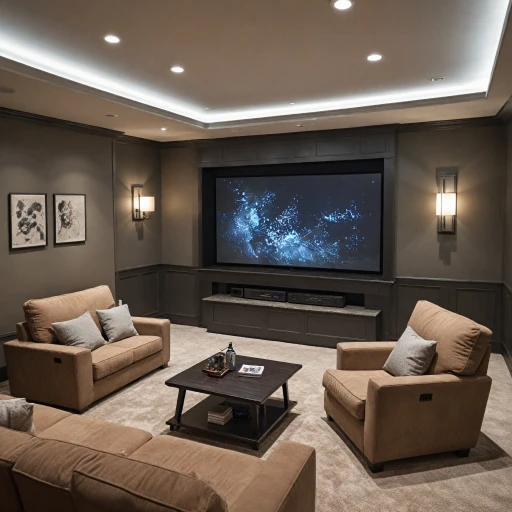
Ceiling-mounted projector screens can significantly enhance your home theater setup by providing an immersive viewing experience. Unlike traditional TVs, these screens can offer a much larger display, often surpassing 100 inches, which is ideal for movie nights or sports events. The ability to adjust the screen size according to your room dimensions adds a layer of flexibility that wall-mounted options may lack.
Space-Saving and Aesthetic Appeal
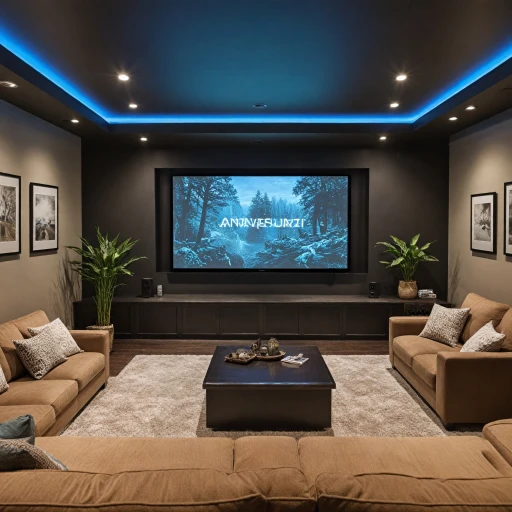
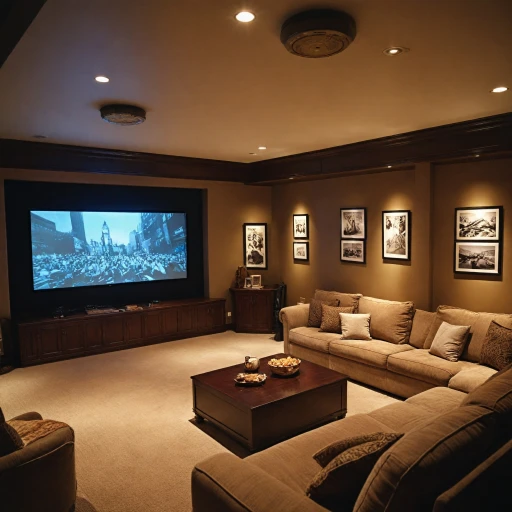
One of the main benefits of a ceiling-mounted projector screen is its space-saving capability. When not in use, the screen can be retracted, freeing up wall space and maintaining the room's aesthetics. This is particularly beneficial in smaller rooms where space is at a premium. The sleek design of modern screens, such as those from Elite Screens or Draper, ensures that they blend seamlessly into any decor.
Enhanced Image Quality
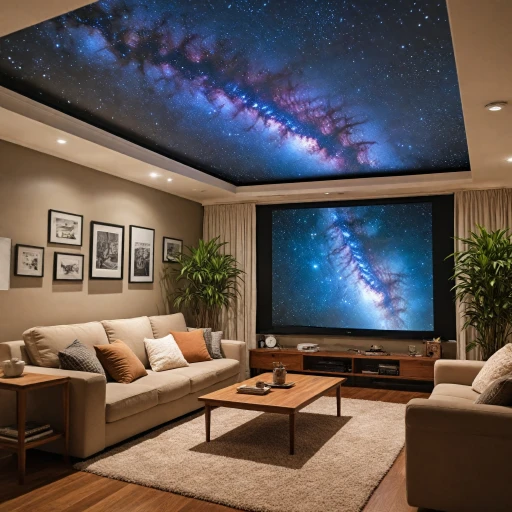
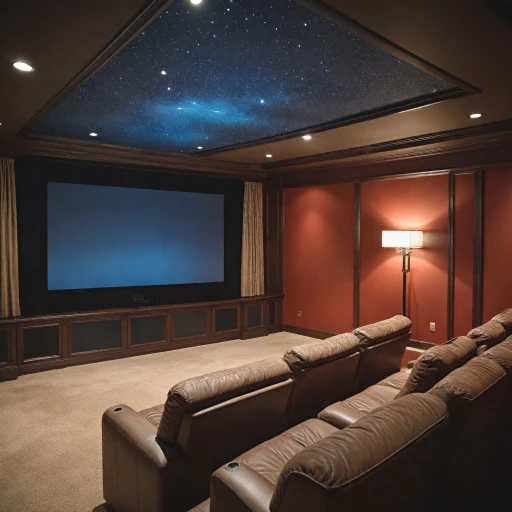
Using a ceiling-mounted projector screen can also improve image quality. Many screens are designed with special materials, like matte white or ALR (Ambient Light Rejecting), which enhance picture clarity and contrast, even in rooms with ambient light. This makes them a superior choice for achieving that cinema-like experience at home.
Versatility and Compatibility
Ceiling-mounted screens are versatile and compatible with various projectors, whether you have a standard throw, short throw, or ultra-short throw projector. This versatility allows you to choose the best projector for your needs without worrying about compatibility issues. Furthermore, electric screens can be controlled remotely, adding convenience to your setup.
For those interested in enhancing their home theater experience further, considering the right projector tripod can also make a significant difference in your setup.
Choosing the Right Screen Material and Size
Picking the Ideal Screen Material and Dimensions
When it comes to enhancing your home theater with a ceiling-mounted projector screen, choosing the right screen material and size is crucial. The material of your projector screen can significantly impact the quality of your viewing experience. Options like matt white or matte white are popular for their ability to provide a bright, clear image. If you're dealing with ambient light, consider an ALR (Ambient Light Rejecting) screen to maintain picture quality.
Size matters too. The inch size of your screen should align with your room's dimensions and the type of projector you're using. For example, a short throw or ultra short throw projector might require a different screen size compared to standard throw projectors. It's essential to match your screen size with your projector's capabilities to ensure the best possible image.
Considering the Variety of Screen Products
There are several brands and types of screens to choose from, each with its own set of features and price points. Draper and Elite Screens are well-known for their quality and durability. The Draper Luma and Elite Screens offer a range of options from electric to manual pull-down screens. When considering the price, think about the long-term investment and the value it adds to your home theater setup.
For those looking for a seamless integration with their room's aesthetics, a tab tension screen can provide a smooth, flat surface that enhances image quality. These screens are often more expensive but can be worth the investment if you're seeking a professional-grade home theater experience.
Evaluating the Best Fit for Your Space
Before purchasing, consider the wall ceiling space available and how the screen will fit into your existing setup. A ceiling-mounted screen should complement your room without overpowering it. Additionally, consider the shipping and installation process, which can vary depending on the item and your location.
For more insights on how to enhance your home theater experience with the right equipment, check out this guide on choosing the perfect projector tripod.
Installation Considerations and Tips
Preparing for Installation
When it comes to installing a ceiling-mounted projector screen, preparation is key. Before you start, ensure that you have all the necessary tools and materials. This includes a drill, screws, a stud finder, and a level. It's also important to have your projector and screen specifications on hand, especially the dimensions and weight, to ensure compatibility with your ceiling structure.
Choosing the Right Spot
Selecting the optimal location for your projector screen is crucial. Consider the distance between the screen and the projector, especially if you're using short throw projectors or ultra short throw models. The screen should be positioned to avoid any obstructions and ensure a clear line of sight from your seating area. Additionally, account for ambient light in the room, as this can affect the viewing experience. ALR (Ambient Light Rejecting) screens can be beneficial in rooms with high ambient light.
Mounting the Screen
Once you've chosen the location, use a stud finder to locate the ceiling joists. Mounting the screen on joists provides the necessary support for heavier items like electric projector screens. If you're using a tab tensioned screen or a draper luma model, ensure that the mounting brackets are securely attached to prevent sagging. For those using elite screens, follow the manufacturer's guidelines for installation to avoid voiding the warranty.
Integrating with Your Setup
Integration with your existing home theater setup is essential for a seamless experience. Ensure that the projector is aligned with the screen and that the throw distance matches the projector's specifications. For a matt white or matte white screen, ensure that the projector's settings are optimized for color accuracy and brightness. If you're using a standard throw projector, adjust the projector's position to achieve the desired screen size, typically measured in inches.
Final Adjustments and Testing
After installation, make any necessary adjustments to ensure the screen is level and that the projection is centered. Test the setup by playing a movie or video to check for any issues with alignment or focus. This is also the time to adjust the screen tension if you opted for a tab tension model, ensuring a smooth and wrinkle-free viewing surface.
Integrating with Your Existing Home Theater Setup
Seamless Integration with Your Home Theater Setup
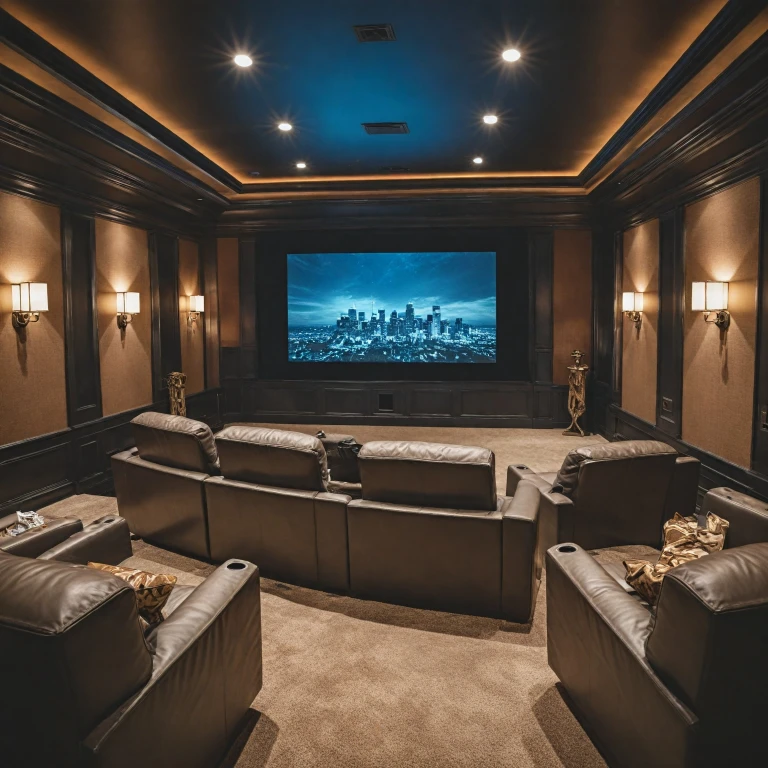
Integrating a ceiling-mounted projector screen into your existing home theater setup can elevate your viewing experience to new heights. Here’s how you can ensure a smooth transition and optimal performance.
Compatibility with Projectors
First, consider the compatibility of your projector with the screen. Whether you have a short throw, ultra short throw, or standard throw projector, ensure that your screen is optimized for the type of projector you own. For instance, a matte white screen works well with most projectors, providing a crisp and clear image. Brands like Draper and Elite Screens offer a variety of options, from the Draper Luma to Elite Screens' electric models, catering to different needs and budgets.
Positioning and Alignment
Positioning is crucial. The screen should be aligned with the projector's lens to avoid any keystone distortion. This might require adjusting the ceiling mount or using a tab tension system to keep the screen perfectly flat. Additionally, consider the throw distance, which will affect the screen size you choose. A 100-inch projector screen might be ideal for most setups, but always measure your space to ensure the best fit.
Wall and Ceiling Considerations
When mounting your screen, assess the structural integrity of your wall or ceiling. The weight of the screen, especially electric models, requires sturdy support. Some screens come with wall ceiling mounts that simplify the installation process. Make sure to follow the installation tips to avoid any mishaps.
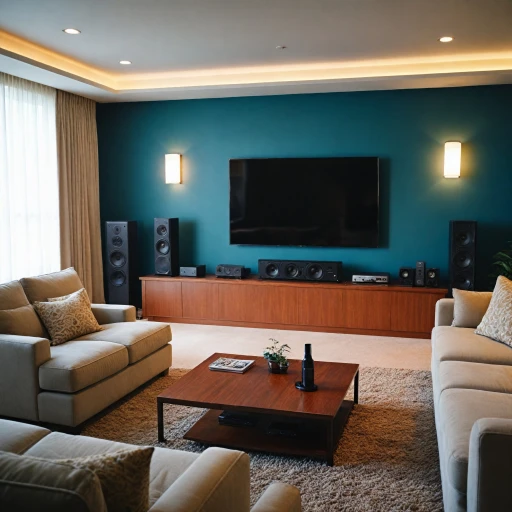
Audio and Visual Synchronization
Ensure your audio system is synchronized with the visual setup. The positioning of speakers in relation to the screen can greatly affect the immersive experience. Consider the placement of your speakers and any potential interference from the screen.
Budget and Additional Features
Finally, factor in the cost and features. While the sale price of some screens might be tempting, evaluate the long-term benefits of investing in a quality product. Features like ALR (Ambient Light Rejection) can enhance viewing in brighter rooms. Check stars reviews and compare the price of Draper and Elite models to make an informed decision.
Maintenance and Care for Longevity
Ensuring Your Projector Screen Lasts
Maintaining your ceiling-mounted projector screen is crucial to preserving its quality and ensuring longevity. Whether you have an electric, manual, or tab-tensioned screen, regular maintenance can prevent issues and enhance your viewing experience.
Regular Cleaning Practices
Dust and dirt can accumulate on the surface of your projection screen, affecting image quality. Use a soft, lint-free cloth to gently wipe the screen. For stubborn stains, a mild soap solution can be used, but ensure it's applied sparingly and the screen is dried thoroughly. Avoid harsh chemicals that could damage the screen material, especially if you have a matte white or HDTV matt finish.
Checking the Mechanism
If you own an electric or manual pull-down screen, regularly check the mechanism for smooth operation. Ensure that the screen retracts evenly and without resistance. For electric screens, periodically test the motor to ensure it's functioning correctly. If you notice any irregularities, consult the manufacturer's guidelines or consider professional servicing.
Environmental Considerations
Projector screens, especially those made from delicate materials like ALR or matte white, should be kept away from direct sunlight and high humidity areas. These conditions can lead to discoloration or warping over time. If your screen is installed near a window, consider using blackout curtains to protect it from UV exposure.
Handling and Storage
When adjusting or moving your projector screen, handle it with care to avoid damaging the surface. If you need to store the screen, ensure it's rolled up properly and kept in a dry, safe place. This is particularly important for portable screens or those not permanently mounted.
Monitoring Wear and Tear
Regularly inspect your screen for signs of wear and tear. Look for any tears, discoloration, or issues with the screen's tension. Addressing these problems early can prevent further damage and prolong the life of your product.
By incorporating these maintenance tips into your routine, you can ensure that your ceiling-mounted projector screen continues to deliver high-quality images for years to come. Investing time in proper care not only enhances your viewing experience but also protects your investment, whether you opted for a high-end model like the Draper Luma or a more budget-friendly option from Elite Screens.
Cost Analysis and Budgeting
Budgeting for Your Ideal Projection Setup
When planning to enhance your home theater with a ceiling-mounted projector screen, it's crucial to consider the financial aspects. Understanding the cost implications can help you make informed decisions that align with your budget and desired features.
Factors Influencing the Cost
- Screen Material and Size: The material and size of your projector screen significantly affect the price. Options like matte white or ALR (ambient light rejecting) screens vary in cost, with larger screens typically demanding a higher investment.
- Screen Type: Electric screens, such as those from Elite Screens, offer convenience but often come at a premium compared to manual options like the Draper Luma.
- Projection Type: Your choice between standard throw, short throw, or ultra-short throw projectors can influence the overall budget, as different projectors have varying price points.
- Installation and Accessories: Consider the cost of ceiling mounts, wall brackets, and any additional items required for installation. These can add to the overall expense.
Finding the Right Balance
To strike a balance between cost and quality, it's essential to prioritize features that enhance your viewing experience. For instance, while a tab-tensioned screen may be more expensive, it offers better flatness and durability, which can be worth the investment in the long run.
Exploring Sale Opportunities
Keep an eye out for sales and discounts on projector screens and related accessories. Retailers often offer promotions that can help you secure a high-quality screen at a reduced price. Comparing prices from different brands like Draper and Elite can also lead to cost savings.
Estimating Shipping Costs
Don’t forget to factor in shipping costs, especially for larger items like a 100-inch or 120-inch projector screen. These costs can vary based on the product's weight and your location.
Long-Term Investment
Investing in a quality projection screen can enhance your home theater experience for years to come. Regular maintenance, as discussed in the maintenance section, can extend the lifespan of your screen, making it a worthwhile investment.