Understanding Projector Projection
Diving into the World of Projector Technology
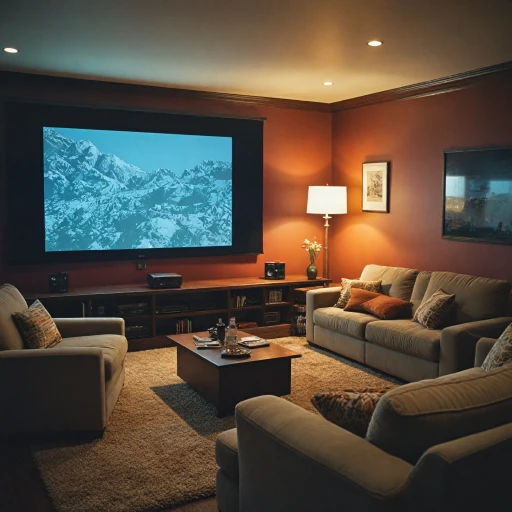
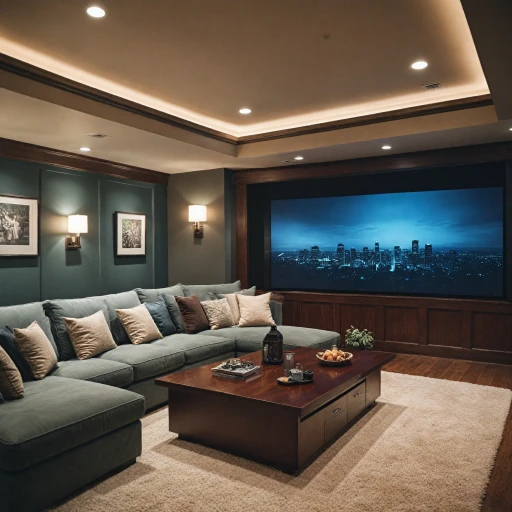
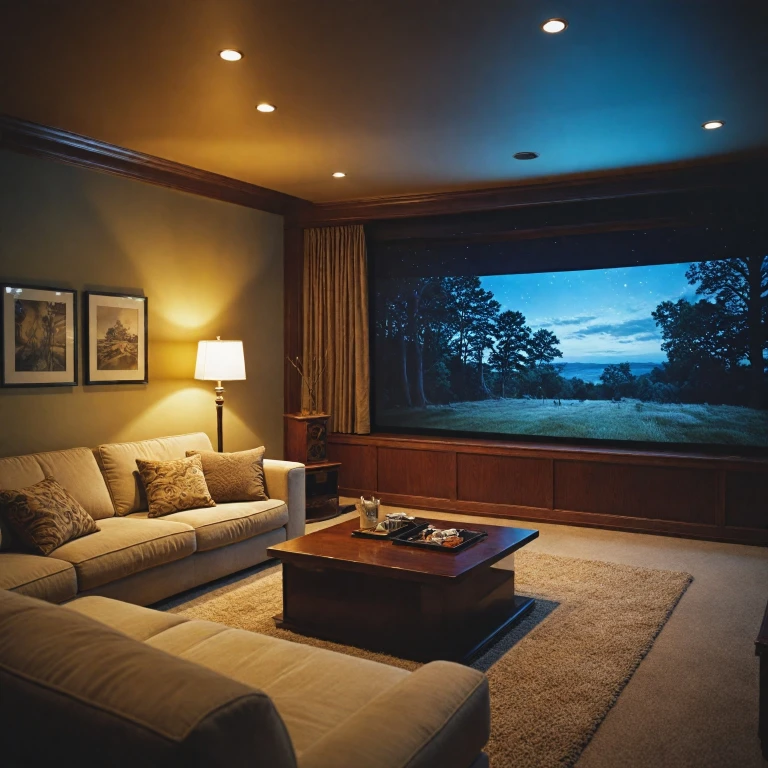
If you're setting up a home theater, understanding projector technology is a vital step. There’s a myriad of different kinds from traditional long throw to innovative short throw projectors, and even ultra short throw projectors that are quickly transforming the way we enjoy visual media.
The first element to consider is the throw ratio. This will determine the throw distance—how far back your projector needs to be to generate the desired image width. For example, short throw projectors offer the advantage of being placed closer to the screen, which is ideal for a small room or limited space.
Moreover, the projection itself greatly relies on the projector’s technology. For instance, a laser projector offers superior brightness and longer life span compared to traditional lamp-based models. However, understanding the projector lens and its capabilities can also be crucial in achieving the best projection quality.
Checking for features such as keystone correction will help ensure your image is perfectly aligned with the projection screen. Additionally, for those seeking portability, there are numerous portable projectors in the market with competitive performance features suitable for both indoor and outdoor screens.
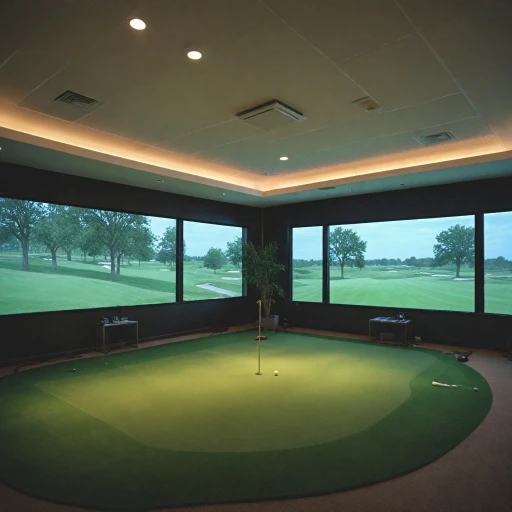
For those immersed in creative projects, projection mapping opens up a new spectrum of possibilities, turning almost any surface into a dynamic image display.
To delve deeper into how these components come together in a home theater system, exploring the key components of a home theater system can be enlightening.
Choosing the Right Projector for Your Space
Finding the Perfect Fit for Your Space
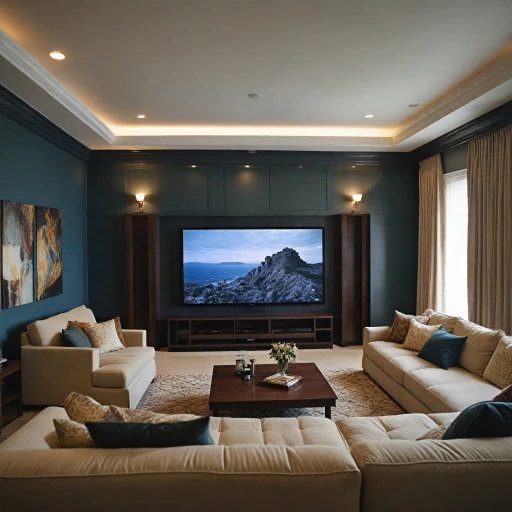
When it comes to choosing the right home theater projector, several factors need to be taken into consideration to ensure you get the best possible viewing experience. The size of your room, the distance to the screen, and the type of projection you want all play crucial roles in this decision. Let's look at how you can find the perfect fit for your space.
Size and Shape Matter
The size of your room will influence whether you should go for a short throw projector or a long throw projector. Short throw projectors are ideal for small spaces, requiring less distance to project a large image. If you have a large room, opting for a standard or long throw projector might better suit your needs.
Choosing the Right Lens
The lens type in your projector will also determine the quality and clarity of your image. A high-quality lens can make all the difference in achieving that crystal-clear picture, especially if you're planning on ceiling mounting your projector.
Projector Screen and Distance
Pairing your projector with an appropriate screen is equally important. High gain screens, for instance, are optimal for rooms with a lot of ambient light. Additionally, be sure to measure the throw distance carefully to avoid image distortion and ensure that the projector's throw ratio aligns with your space requirements.
Considering the Type of Projector
- Portable projectors: Great for their flexibility and ease of use, they are suitable for both indoor and outdoor settings. These are ideal if you plan to change the projection locations frequently.
- Laser projectors: Often offer better brightness and color accuracy, making them a popular choice for enthusiasts.
- Ultra short throw projectors: Perfect when you want the projector placed close to the screen while still achieving a large display.
Understanding the specifics of your environment and aligning them with these projector options will help you find the best projector for a truly immersive home theater experience.
Setting Up Your Projector for Optimal Performance
Optimal Setup for Projector Projection
To achieve the best viewing experience with your home theater projector, setting up your projector efficiently is essential. Consider the throw distance, as it affects the image size and clarity. A short throw or ultra short throw projector will project a larger image from a shorter distance, making it suitable for smaller rooms. Understanding your projector's throw ratio is crucial for determining how far the projector should be from the screen.
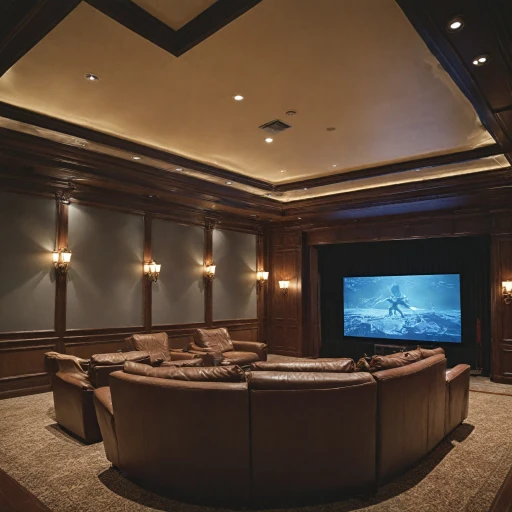
When installing your projector, consider the placement carefully. Some projectors may be ceiling mounted, while others can be placed on a portable stand. Ensure that the projector lens is aligned with the center of the screen to avoid keystone distortion, which can be corrected using keystone correction features.
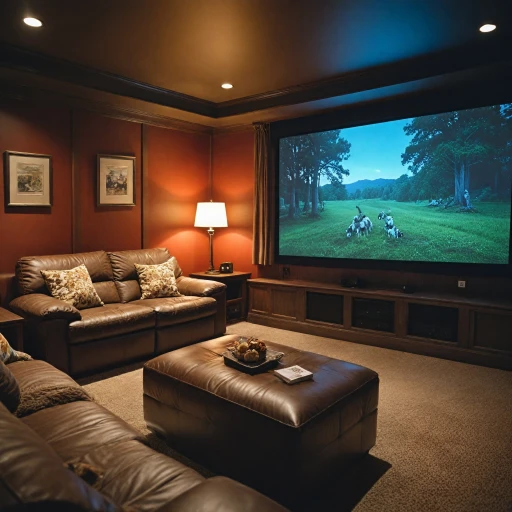
The choice of projector screen is also significant. A larger screen provides a more immersive experience, and a big screen or outdoor screen could be an excellent addition if space permits. Be mindful of ambient light in the room, as excessive light may wash out the image; you may want to invest in curtains or a specialized screen to enhance image clarity.
Electrical considerations should not be overlooked. Ensure your power supply is stable and that all connections are secure to prevent interruptions during viewing sessions. Adjusting your projector's settings, such as brightness and image width, can contribute to an optimal viewing experience.
By understanding these setup essentials, you can maximize image and sound quality, paving the way for the ultimate home theater experience. For an in-depth exploration on utilizing a 100-inch screen projector, which can further enhance this experience, you may find additional insights helpful.
Maximizing Image Quality with Projector Projection
Fine-Tuning Your Projector Setup
To achieve the best image quality with your home theater projector, it’s crucial to fine-tune your setup. Begin by considering the throw distance and throw ratio of your projector. These elements determine how far your projector should be from the screen to create a large, clear image. For smaller rooms, a short throw projector or even an ultra short throw projector might be ideal, allowing you to place the projector closer to the screen.
Adjusting the Projector Lens and Position
Positioning the projector correctly can make a significant difference. If you have a ceiling-mounted setup, ensure the projector is aligned with the center of the screen. Use the keystone correction feature to adjust any trapezoidal distortion caused by an angled projection. Additionally, some projectors offer lens shift capabilities, allowing you to move the image vertically or horizontally without physically moving the projector.
Choosing the Right Screen
The choice of projector screen can also impact image quality. A high-gain screen can enhance brightness in rooms with ambient light, while a gray screen might be better for contrast in darker environments. Consider the image width and the projection pattern you desire, as these will influence the screen size and material you choose.
Lighting and Room Considerations
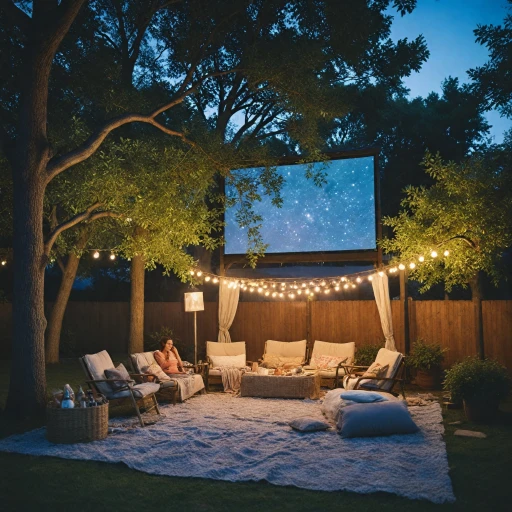
Controlling the light in your viewing area is essential for optimal image quality. Darkening the room or using blackout curtains can help improve contrast and clarity. If you plan to use your projector outdoors, consider a portable projector and outdoor screen that can withstand varying light conditions.
Regular Maintenance and Calibration
To maintain the best image quality, regularly clean the projector lens and ensure the power supply is stable. Some projectors offer calibration settings that can be adjusted to suit your specific viewing environment, ensuring a consistently sharp and vibrant display.
Sound Considerations in Home Theater Setup
Creating a Cinematic Soundscape
When setting up your home theater, the visual immersion is just one part of the equation; sound plays a crucial role in enveloping you in the experience. To get the best audio performance from your projector setup, consider these aspects:- Speaker Placement: Position your speakers appropriately to ensure that sound travels directly to the seating area. Front and center speakers should align with the projector screen. Consider ceiling-mounted options for rear speakers to enhance the surround sound effect.
- Sound Quality: Many projectors come with built-in speakers, but standalone audio systems usually deliver much higher quality sound. Opt for quality soundbars or a full surround sound system for richer audio precision.
- Room Acoustics: The room's layout and construction materials affect sound performance. Soft fabrics like carpets and curtains can help reduce echo, while the arrangements in your room, such as furniture placement, will also influence acoustic behavior.
- Amplification: A dedicated amplifier can dramatically enhance audio output when linked between your audio sources and speakers. Ensure it supports the sound quality and volume levels you desire without creating distortion.
- Audio Calibration: Just like calibrating your projector for optimal image quality, sound equipment requires calibration. Test different settings for bass, treble, and volume to suit your room's acoustics and to sync with the projector throw distance and display size.
Troubleshooting Common Projector Issues
Addressing Common Projection Challenges
Even with the best projector setup and a carefully chosen screen, problems can arise that might impact your home theater experience. Addressing these common projection challenges will help you enjoy a seamless viewing experience.Picture Quality and Distortion Issues
If you encounter image distortion, blurry visuals, or incorrect aspect ratios, these could interfere with your viewing experience. Ensuring your throw distance is appropriately set according to the projector's throw ratio is crucial. If your projector supports keystone correction, use it to adjust image slanting.- Keystone Correction: This feature can handle trapezoidal distortion but might slightly compromise image sharpness. A better setup would involve physically adjusting the throw projector or ceiling mount to minimize the reliance on electronic correction.
- Lens and Focus Setting: Make sure the lens is clean and properly focused. For those using a short throw or ultra short throw projectors, accurate positioning of the projector relative to the screen is vital for best results.
Light and Screen Illumination
Excess light leaking into the room due to improper shading or positioning can lower image quality.- Control Ambient Light: Use blackout curtains or shades to block external light. Properly adjusting the room's brightness can make a big difference in image contrast.
- Optimized Screen Material: If your screen isn’t displaying well, consider upgrading to a high-gain or specially designed projector screen for improved picture clarity.
Connectivity and Power Supply
An unstable power supply can cause your projector to malfunction, leading to flickering images or unintended shutdowns. Make sure all cables are securely connected and the power source is stable.- Check Power Cables: Use a dedicated power supply for your laser projector to ensure consistent performance.
- Secure Connections: Loose connections or faulty HDMI cables can cause signal dropouts affecting the image. Double-check all connections and consider using high-quality cables for reliable transmission.