Understanding Throw Height in Projectors
Grasping the Essence of Projector Throw Height
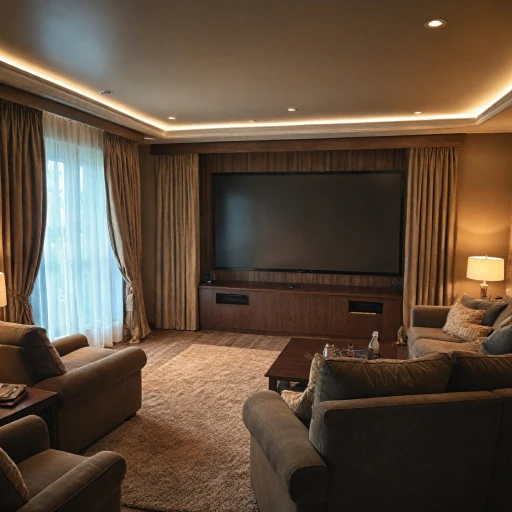
When setting up a home cinema, understanding the intricacies of projector placement is crucial. One key factor that can dramatically affect image quality, screen size, and overall viewing experience is throw height. But what exactly is throw height in the context of projectors? Throw height refers to the vertical distance between the center of the projector lens and the top or bottom edge of the screen. This height can impact the pro alignment and geometry of the projected image, ensuring that it fills the intended screen space without distortion or other visual issues. For models like the Epson Pro Cinema LS12000, mastering the throw can enhance your home theater setup significantly. Several factors come into play when it comes to the right throw height. The LS12000, like many laser projectors, offers features such as lens shift, allowing users to adjust the position of the projected image without physically moving the projector itself. This control option can be a game-changer for those dealing with less-than-perfect room configurations. Moreover, the LS12000's high brightness lumens and impressive contrast ratio ensure a vivid and vibrant cinematic experience, regardless of the room's ambient light conditions. With the right setup guide, you can optimize the projector's throw height for best performance. For anyone looking to elevate their home theater to a professional level, adding an understanding of throw height to your expertise is essential. Proper setup not only maximizes the Epson's laser light source capabilities but also guarantees the best image quality on your ultra short throw screen. For an insightful guide, optimizing your home theater with a wall-mounted projector can be an invaluable resource in achieving the perfect setup.Key Features of the LS12000 Projector
Exploring the Core Features of the LS12000
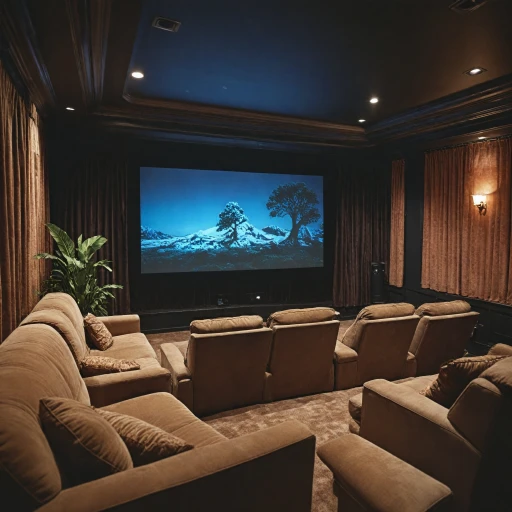
The LS12000 projector stands out in the world of home theater projectors due to its comprehensive array of high-end features. Designed for true cinema lovers who seek the best image quality, this projector harnesses the power of advanced laser technology to deliver exceptional clarity and vibrant colors.
This Epson projector boasts a pro UHD resolution, offering a high-definition experience that doesn't compromise on detail. Its 4K laser light source ensures uniform brightness across the projected image, making it possible to maintain optimal color reproduction and contrast ratio under various lighting conditions. With brightness lumens reaching an impressive level, the projector supports a range of environments, whether dark or moderately lit.
The LS12000's lens shift capabilities provide substantial flexibility, allowing users to fine-tune the projected image's position on their cinema screen without needing to reposition the entire unit. This feature, combined with short throw and ultra short options, makes it a versatile product, adaptable to diverse home theater setups.
Another advantageous feature is the projector's HDMI connectivity, enabling a seamless integration with different media sources. The remote control, equipped with intuitive buttons including the essential press enter function, ensures easy navigation through settings and control over key features.
For those keen on maximizing their home cinema pro experience, enhancing your viewing experience projecting directly from the wall can provide insights into perfecting your setup.
Tools Needed for Adjusting Throw Height
Essential Tools for Adjusting Your Projector's Throw Height
When setting up your home cinema, the right tools can make all the difference in achieving optimal image quality and screen size. For the LS12000 projector, ensuring the proper throw height is crucial. This adjustment can enhance the overall image projection and provide a superior viewing experience. Here's what you need to get started:
- Laser Level: A laser level helps in precisely aligning the projected image with the desired screen size, especially when dealing with short throw or ultra short setups.
- Measuring Tape: Accurate measurements are vital in adjusting the throw distance. Use a tape to measure distances between the projector, screen, and seating area for the best cinema pro experience.
- Screwdriver Set: Depending on your projector Epson mount, a screwdriver might be necessary for adjusting the mount or lens shift controls.
- Remote Control: The button remote or control device provided with the LS12000 will assist you in navigating the projector’s settings.
- Lens Cleaning Kit: Keeping the projector lens clean ensures that you maintain high image quality and contrast ratio, essential for vibrant colors and clear picture.
By using these essential tools, you're setting the stage for an optimized viewing experience. Remember, adjusting your projector's settings requires attention to detail and precision for the best results.
Step-by-Step Guide to Adjusting Throw Height
Guided Steps to Fine-Tune Your Projector's Throw Height
Achieving optimal viewing by adjusting the throw height of your LS12000 projector requires a careful approach. Unlike other projectors, Epson’s device utilizes advanced features such as laser technology and lens shift capabilities, which can considerably enhance image quality. Follow this step-by-step guide to ensure you make the most out of your projector’s capabilities.- Prepare Your Setup Area
- Ensure your screen is properly set up and the area is conducive to adjustments.
- Check that the projector is connected securely through HDMI and has power.
- Initial Projector Placement
- Place your Epson Pro Cinema LS12000 on a stable surface or mount.
- Verify that the projector is roughly aligned with the center of your cinema screen, accounting for desired screen size and image alignment.
- Adjust the Lens Shift Mechanism
- Utilize the lens shift feature for fine-tuned height adjustments without needing to physically move the projector.
- Use the remote control to press enter and navigate to the lens shift option in the setup guide. This allows for vertical and horizontal image positioning, ensuring you use the laser light and lens efficiently.
- Set the Throw Distance and Height
- Measure the throw distance accurately from the projector's lens to the screen. This is crucial as both throw and distance impact the projected image size and quality.
- Adjust the throw height of the projector by modifying the height of the stand or mount. Ensure it’s not too steep as this can lead to sub-optimal light source and image quality.
- Fine-Tune Brightness and Image Quality
- Adjust the brightness by accessing the brightness lumens settings, allowing the best view in varying light conditions.
- Consider the pro uhd capabilities of the projector to ensure high contrast ratio and vibrant color reproduction.
- Test and Control via Remote
- Use the button remote to make incremental changes and see real-time results on the screen.
- Experiment with short throw and ultra short adjustments based on your room’s layout and projector’s supported design, ensuring a cinema-like experience.
Common Mistakes to Avoid
Avoiding Common Pitfalls in Adjusting Throw Height
When adjusting the throw height of your Epson LS12000 projector, it's crucial to be aware of some common mistakes that can affect the image quality and overall viewing experience. Here are some pitfalls to watch out for:
- Ignoring the Lens Shift Capability: The LS12000 features a lens shift function, which allows you to adjust the position of the projected image without moving the projector. Failing to utilize this feature can lead to improper alignment and distorted images.
- Overlooking the Importance of Screen Size: Your screen size should match the projector's throw distance. An incorrect setup can lead to a compromised contrast ratio and brightness lumens, affecting the cinema pro experience.
- Neglecting the Light Source: The LS12000 uses a laser light source, which provides consistent brightness and color accuracy. Ensure that the projector's light path is unobstructed to maintain optimal image quality.
- Improper Use of Remote Control: The button remote is essential for fine-tuning settings. Make sure you are familiar with the remote's functions, such as the press enter button, to make precise adjustments.
- Failing to Secure the Projector: Once you've adjusted the throw height, ensure the projector is securely mounted or placed. Any movement can disrupt the alignment and affect the projector epson setup.
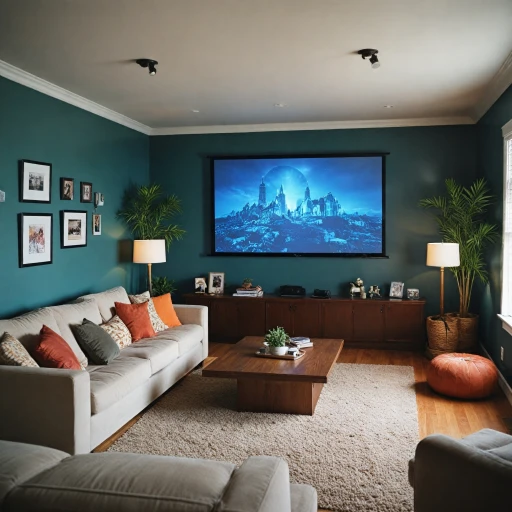
- Not Considering the Room's Lighting: Ambient light can wash out the projected image. Consider using curtains or blinds to control the room's light for the best viewing experience.
By being mindful of these common errors, you can ensure that your pro cinema setup delivers the high-quality experience that the LS12000 is capable of. Remember, the key to a successful home theater is not just the projector itself, but also how you optimize its use.
Enhancing Your Home Theater Experience
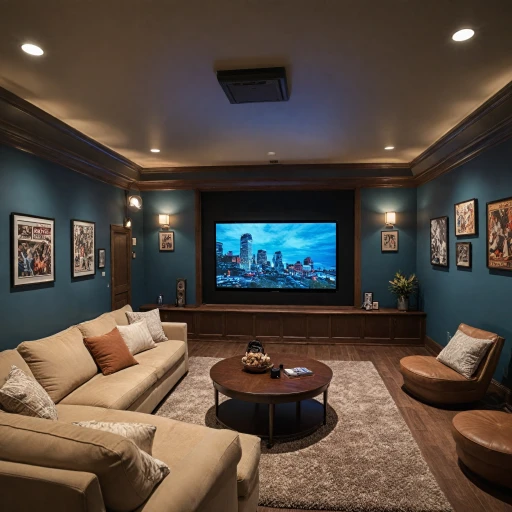
Maximizing the Impact of Your Home Theater Setup
Upon successfully adjusting the throw height of your LS12000 projector, several additional steps will further enhance the overall cinematic experience. Keep in mind the different settings and features you have fine-tuned, and consider the factors that can elevate your viewing sessions to professional levels.- Optimizing Image Quality: Ensure that the image quality is sharp by adjusting the lens shift and focus settings. The interplay of high contrast, color, and resolution will present images as the movie directors intended. An Epson Pro Cinema model is equipped with a remarkable contrast ratio and 4K PRO-UHD resolution, making every projected image crisp and vivid.
- Setting Up Surround Sound: Although projectors like the Epson LS12000 come with stunning visual capabilities, complementing those with superior sound systems can amplify the cinematic experience. Pair your projector with high-quality audio equipment for a full sensory delight.
- Calibrating Brightness Levels: With the ability to reach impressive brightness lumens, find a balance by adjusting the levels depending on the ambient light in the room. This not only prevents eye strain but also highlights details in dark movie scenes, maintaining high image quality.
- Remote Control Adjustment: Make use of the remote control functionalities. Set up custom control settings for different types of media. For instance, customize the settings differently for cinema, video games, and sports viewing for optimal picture quality.
- Regular Maintenance: Regularly check and clean the projector's lens and laser light source to maintain pristine image quality. If needed, refer to maintenance guides to ensure the upkeep of the projector's components.
- Experimenting with Settings: The Epson Pro LS12000's versatile configurations allow for experimentation. Utilize built-in features such as short throw and ultra short throw capabilities based on your space constraints. Don't hesitate to test the different options that support your unique home theater environment.