The Basics of 100-Inch Projector Screens
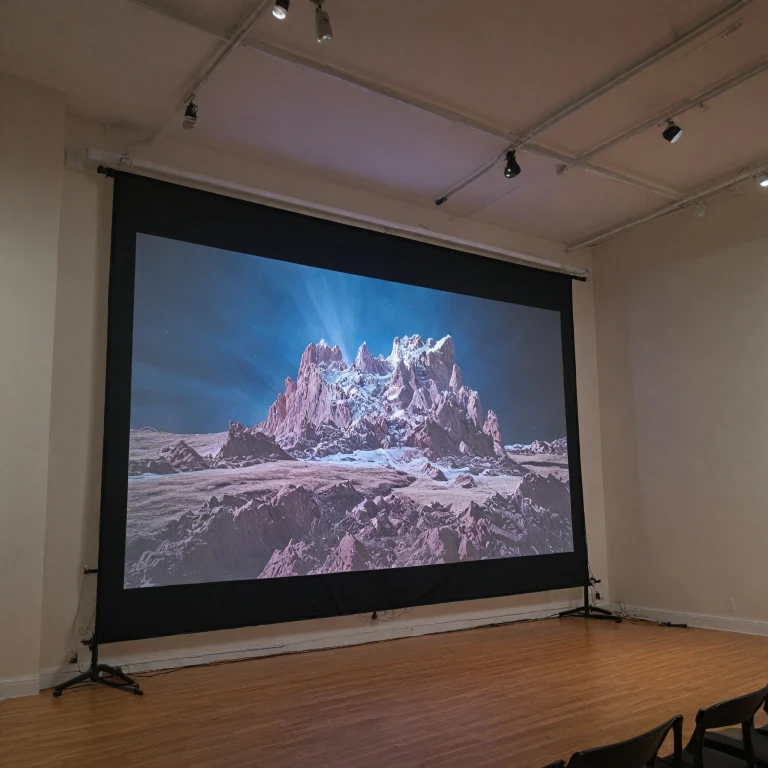
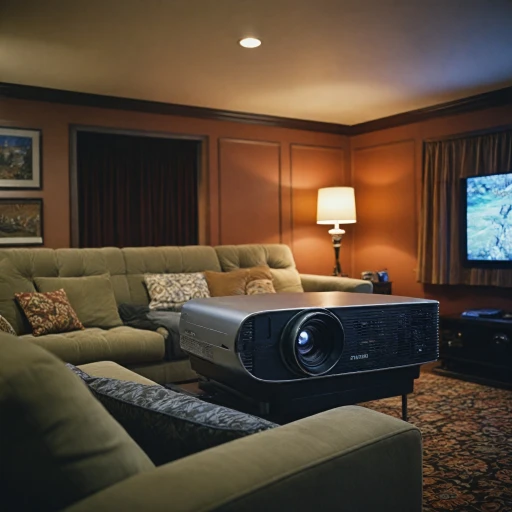
Investing in a 100-inch projector screen can significantly enhance your home theater experience by delivering a larger, more immersive viewing space. However, understanding the basics of what a 100-inch screen entails is crucial before diving into this market. When discussing projector screens of this size, we're talking about the diagonal length from one corner of the screen to the opposite one, typically measured in inches. This helps set the foundational understanding of the screen size in relation to your viewing environment.
Understanding the Screen Measurements
It is important to consider the aspect ratio of the screen, which dramatically affects the overall dimensions and viewing experience. For instance, a 16:9 aspect ratio, often used for high-definition television, results in a different width-to-height ratio than a 4:3 screen. This is critical when determining if a 100-inch screen will fit your designated space and needs. To ensure an optimal setup, you might want to consult resources like choosing the right fabric for your projector screen to make more informed decisions about screen material and setup.
Given the substantial size of a 100-inch screen, understanding the boundaries of the designated viewing area is crucial. The placement of the screen, whether a wall ceiling mount for a fixed frame or a retractable setup, determines the needed adjustments in your room. Considerations such as viewing angle and relative positioning of the viewing seatings ensure the viewers are at a comfortable distance, enhancing the experience that such a screen size can deliver.
Aspect Ratios and Their Impact on Screen Size
Influence of Aspect Ratios on Screen Dimensions
Understanding how aspect ratios affect screen dimensions is key when diving into the world of 100-inch projector screens. At its core, aspect ratio refers to the proportional relationship between the width and height of a screen. Popular ratios such as 16:9 or 4:3 can transform your viewing space dramatically, affecting not only the size of the image on the wall but also the overall viewing experience.
A 16:9 screen is often preferred for its wide, cinematic feel, aligning with the common HD format used in today's media and streaming services. Alternatively, a 4:3 ratio may be reminiscent of older television content, allowing for more height in the image but reducing overall screen width. This choice drastically alters the screen sizes and can bring different aesthetics to a fixed frame screen or a portable setup.
The impact of these ratios is magnified when considering projection distances and how projectors play into this arrangement. A screen tailored for a specific aspect ratio ensures that your projection screen displays the image at its intended proportions, devoid of distortion or unnecessary black bars.
Choosing an appropriate aspect ratio also aligns with the type of content you wish to indulge in regularly. Whether a fixed installation or a manual projector setup on a media center or wall ceiling, the aspect ratio is a significant element in optimizing the image quality and enhancing the viewer's immersion.
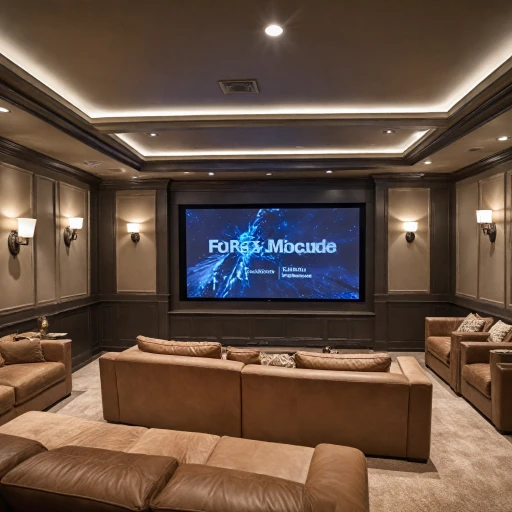
For those serious about creating a refined home theater experience, considering an acoustically transparent projector screen may further augment the atmosphere by ensuring that the sound complements the visual feast of a perfectly proportioned image.
Room Size and Viewing Distance Considerations
The Influence of Room Dimensions and Optimal Viewing Distances
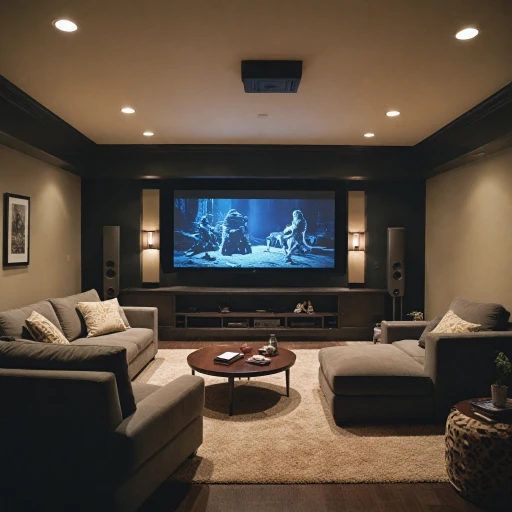
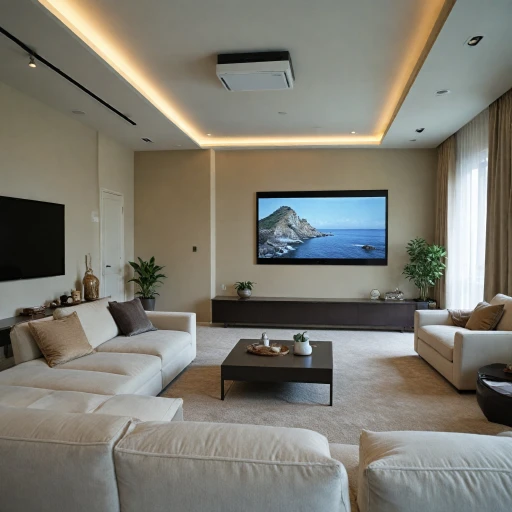
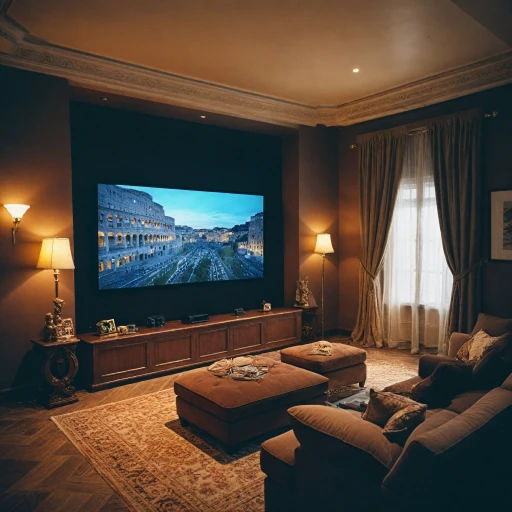
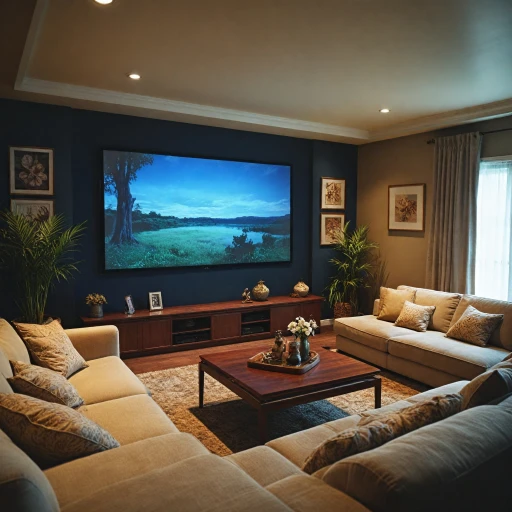
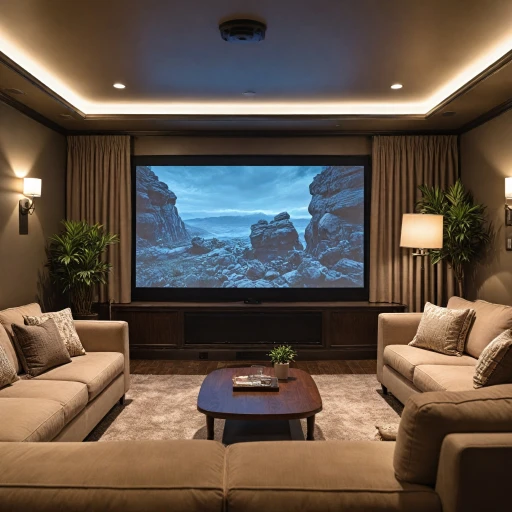
Understanding your room's size and how it affects viewing distance is crucial when setting up a 100-inch projector screen at home. The screen size ultimately impacts how comfortable and immersive your viewing experience will be, contributing to the overall ambience and theater-like sensation in your home. First, determine the dimensions of your room to ensure that the projection screen fits comfortably within the space. Consider the potential locations for the wall or ceiling mounts if opting for a fixed frame or wall-mountable screen. In tighter spaces, a manual or portable screen can offer flexibility, without committing to a permanent installation. When discussing screen sizes like a 100-inch model, the projection distance also matters for achieving the best image clarity and viewing angle. A general guideline is to sit at a distance of approximately 1.5 times the screen's diagonal size. So for a 100-inch screen, you should ideally be seated roughly 12.5 feet away. However, factors such as frame type, projector capabilities, and ambient light in the room can adjust these figures slightly. Moreover, the projectors market offers various models with different light outputs and lens options to adapt to various room configurations. In rooms with high ambient light, a matte white screen can enhance viewing, while material gain influences image brightness and clarity. For an in-depth exploration of integrating audio components with your setup, consider this guide on enhancing your home theater experience with a center speaker stand for deeper immersion.Material and Quality of Projector Screens
Choosing the Right Material for Your Projection Screen
When it comes to selecting the ideal material for your 100-inch projector screen, the choice can significantly impact the quality of the image you experience. The screen material plays a crucial role in determining the brightness, contrast, and color accuracy of the projected image. Here are some key considerations:
- Material Gain: This refers to the screen's ability to reflect light. A higher gain means a brighter image, which can be beneficial in rooms with ambient light. However, high-gain screens may reduce the viewing angle, making it challenging for everyone in the room to enjoy the same image quality.
- Matte White: This is a popular choice for many home theater enthusiasts. Matte white screens offer a balanced gain, providing a wide viewing angle and accurate color reproduction, making them suitable for most room conditions.
- Fixed Frame vs. Portable Screens: A fixed frame screen offers a tensioned surface that ensures a flat and smooth projection area, enhancing image quality. On the other hand, portable screens offer flexibility and can be easily moved or stored, which is ideal for multipurpose spaces.
- Manual vs. Motorized: While manual projector screens are cost-effective and straightforward to use, motorized screens offer convenience and a sleek look, especially when mounted on the wall or ceiling.
Understanding the impact of screen material on your viewing experience is essential. Whether you're opting for a fixed frame projector screen or a portable one, considering the material's properties will help you achieve the best possible projection quality in your home theater setup.
Installation Tips for a 100-Inch Projector Screen
Steps to Properly Install a Projector Screen
Installing a 100-inch projector screen can be a rewarding experience, transforming a simple room into a full-fledged home theater. Here are a few helpful tips to ensure seamless installation:- Determine Placement: Before mounting your projector screen, consider your room's size and the optimal viewing distance. Generally, to achieve the desired image and viewing angle, it's recommended to place the screen at a distance where viewers are approximately 1.5 to 2.5 times the screen width away.
- Choose the Right Wall or Ceiling: The choice between a wall-mounted or ceiling-mounted screen can depend on your space layout and personal preference. Wall-mounted screens offer the advantage of being fixed in a permanent position, while ceiling-mounted screens can sometimes be retracted to save space. Consider the available space and whether ambient light might affect the projection.
- Secure the Frame Properly: For a fixed frame projector screen, ensure that the frame is securely attached to the wall or ceiling. This not only prevents the screen from falling but also helps maintain the ideal aspect ratio and image clarity. Use appropriate screws and anchors depending on your wall type.
- Adjust for Ambient Light: It's important to position your screen to minimize the impact of ambient light. A matte white screen material can help enhance contrast in a room with controlled lighting. If your room has high ambient light, consider screens with higher material gain to improve image brightness.
- Calibrate Projection: After installing the screen, calibrate your projector's settings to match the screen size and aspect ratio. Ensure the projector is aligned with the center of the screen to prevent distortion in the image produced.
Common Challenges and Solutions with Large Screens
Troubleshooting Large Projector Screens: Common Issues and Solutions
Setting up a 100-inch projector screen can be an exciting addition to your home theater, but it comes with its own set of challenges. Below are some common issues you might encounter and how to address them.- Adjusting the Aspect Ratio: A mismatch in the aspect ratio can lead to distorted images. Ensure that your projector is configured to match the screen's aspect ratio. This will help maintain optimal image quality and prevent stretching or cropping.
- Dealing with Ambient Light: High levels of ambient light can wash out the image on the projector screen. Consider installing blackout curtains or choosing a high-quality screen with a high material gain to improve contrast and brightness.
- Positioning the Projector: Incorrect placement can disrupt the viewing experience. Check the projection distance and viewing angle to ensure the projector is at the right height and distance from the screen. This helps maintain focus and clarity.
- Screen Installation Issues: Ensuring the projector screen is flat and taut is crucial. Whether you choose a fixed frame or a portable screen, follow the manufacturer’s manual for installation. A frame screen may require additional support if mounted on the wall or ceiling.
- Maintaining Image Quality: Regular cleaning and maintenance of the screen material can enhance image clarity. Dust or spots on a matte white screen can affect projection quality. Gently clean the screen with appropriate materials to maintain its appearance.
